Uncategorized
Monarch Caterpillar from Cardboard
Cardboard Monarch Caterpillar Costume by Amber
Made from recycled materials and recyclable
cardboard, Japanese paper rice bags, white glue, staples, thread, steel-toothed zipper, caster wheels, acrylic paint
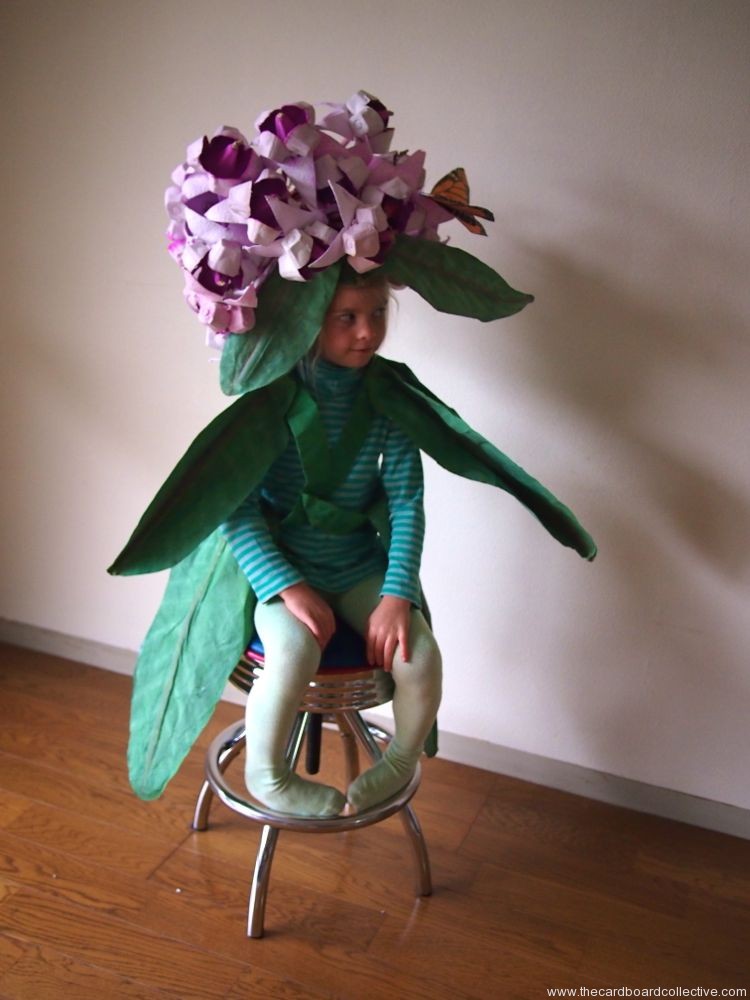
Paper Milkweed Costume
Milkweed Costume by Amber
Made from recycled materials and recyclable
Melon cartons, egg cartons, paper twine, cardboard, Japanese paper rice bags, newspaper, tempera, chalk, white glue, staples
A Cardboard Mushroom
Cardboard Costumes!
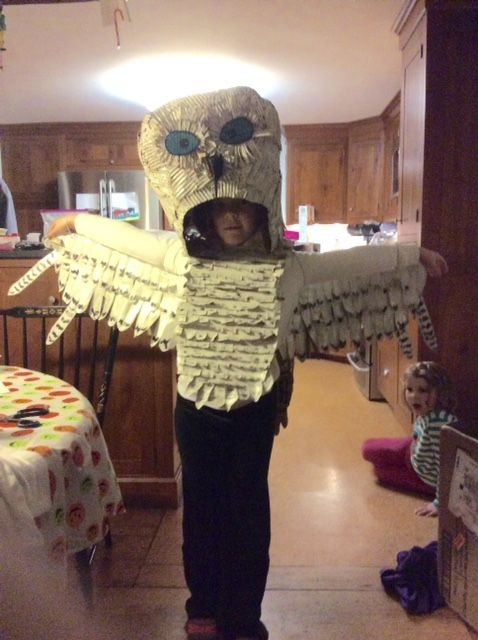
L. Towill's "Snowy Owl"
M. Doran's cardboard peg horse http://unedaliaenwestfalia.wordpress.com/
J. deGroot's cardboard stag
Wow! These are some of the incredible costumes that blog readers sent. Cardboard used in a variety of ways, and utilizing the natural tones and textures of the material. Outstanding!
A Visit from the Purple Unicorn
Mac Huynh, Writer: Unicorn, Photo by Patricia Chang for Racked
Malorie Lucich McGee, Tech Communications: Cereal Killer, Photo by Patricia Chang for Racked
Ben Chiaramonte, Brand Designer: Wolf of Wall Street, Photo by Patricia Chang for Racked
Our Cardboard Costumes Pinterest board was recently featured on The Pinterest Handmade Halloween Hub. Some Pinterest staffers even made their own costumes inspired by some on the board, including our own Cardboard and Newsprint Unicorn Costume, (top) which looks even better in purple, I think.
Mask-Making Workshop
In cooperation with Play Park Kujira Yama ( a weekly pop-up adventure playground in Tokyo) I'll be leading a Halloween mask-making workshop culminating with a cardboard pinata we'll decorate the day of the event. Oide!
Who: preschool and elementary aged children and their parents
What: recyclable Halloween hat and mask making
Where: Koganei Musashino Park next to Kujira Yama
When: Friday, October 24th, 2014 from 2pm - 4:30pm
Please bring some light weight cardboard, a stapler and scissors (with your name on them) and okashi/snacks to fill our pinata!
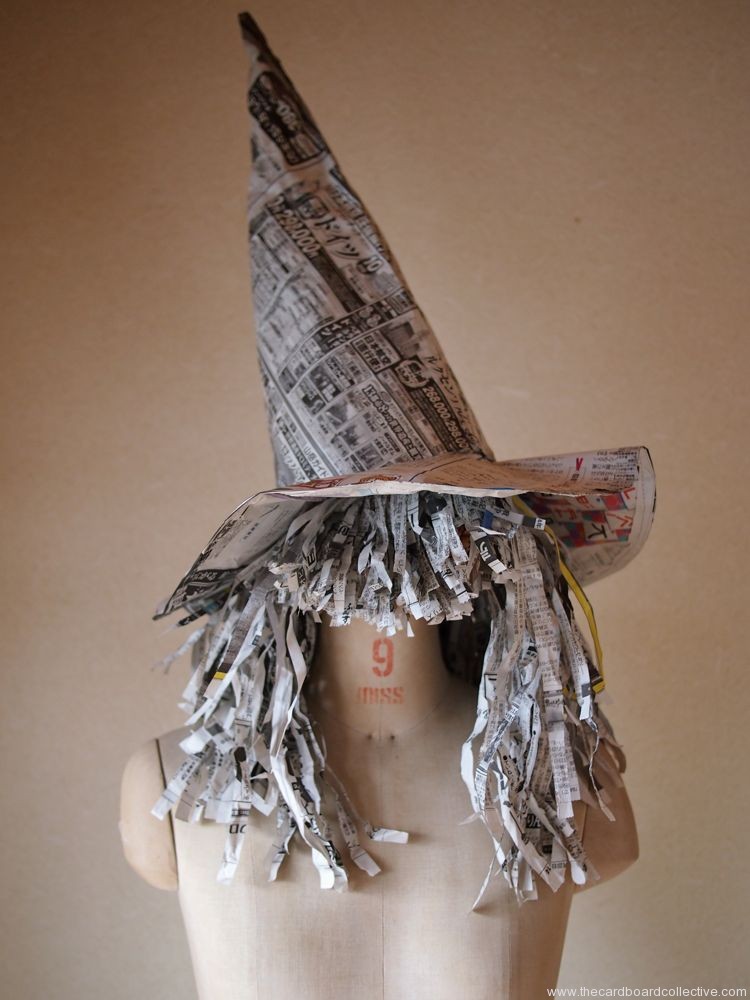
Newspaper Witch's Hat
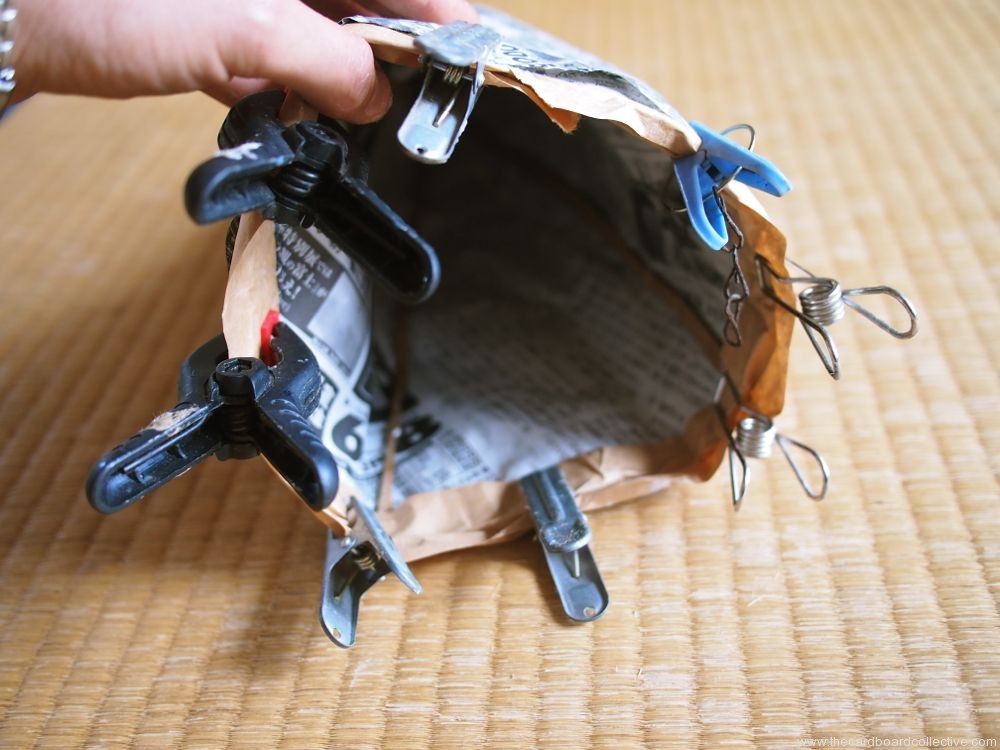
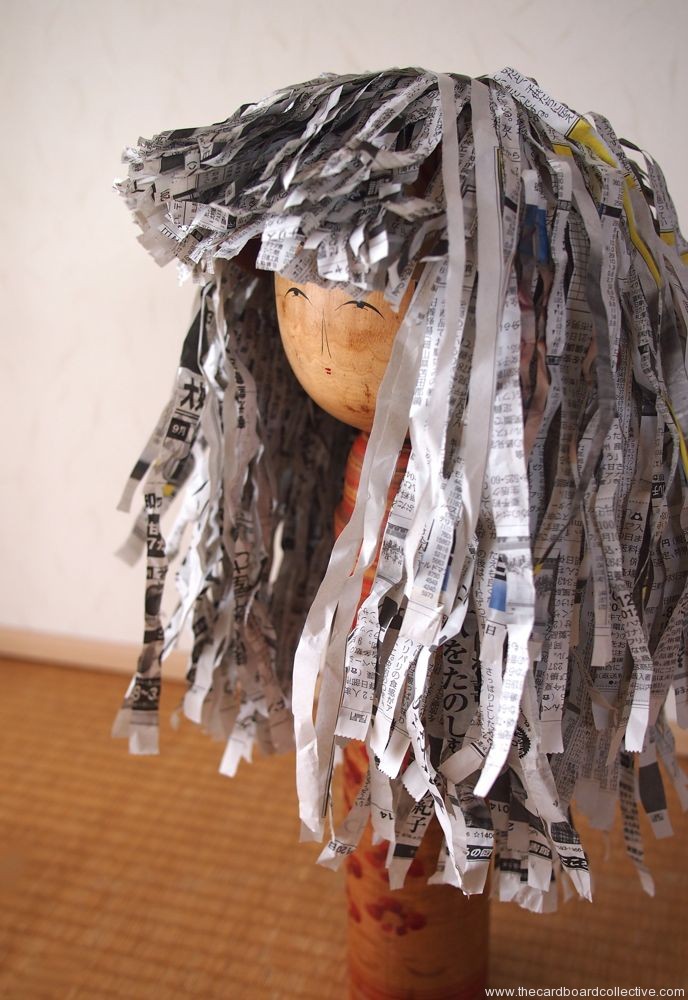
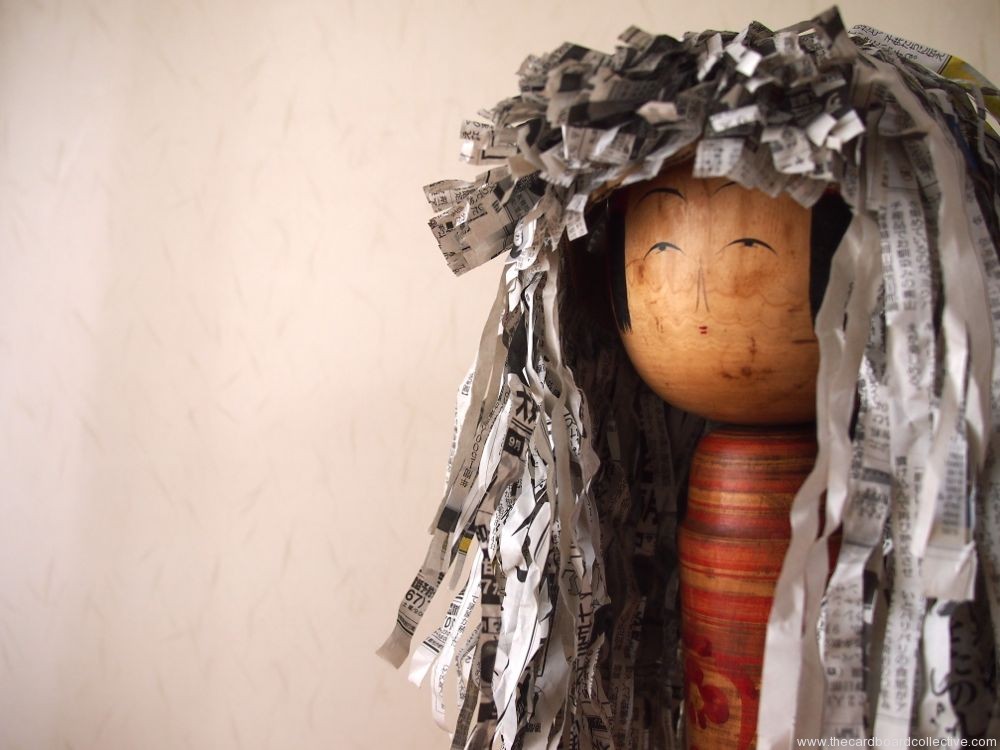
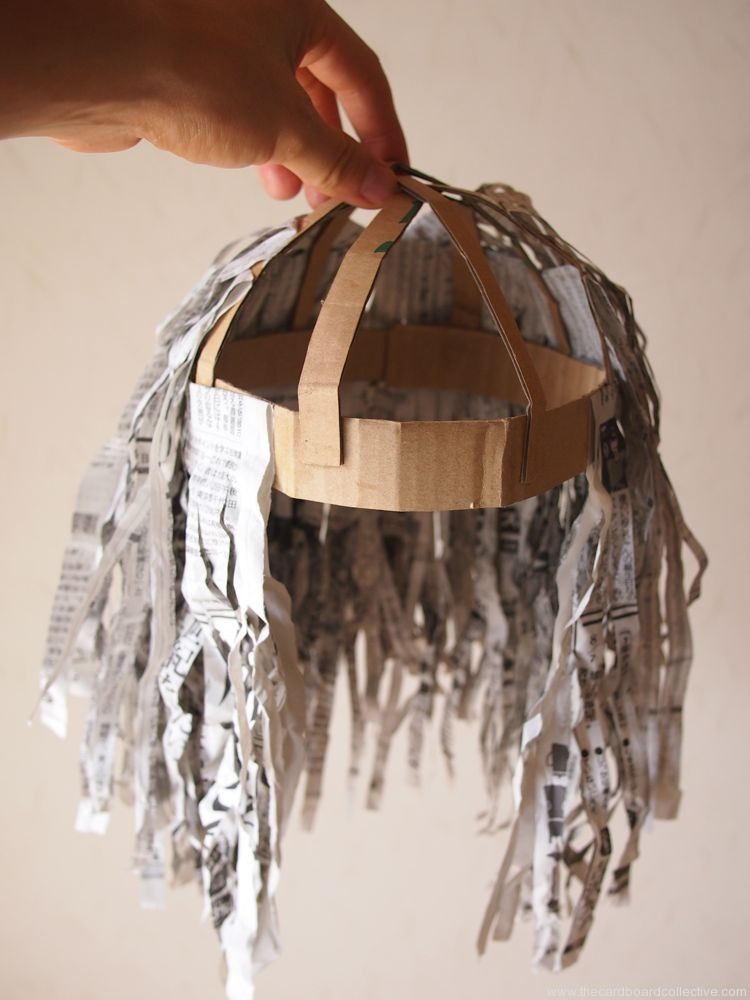
Newspaper Wigs
Thinking in Cardboard
As we kick off another march towards Halloween, it's time to think in cardboard. What shapes do you see? What faces are peering out at you?
How can you use cardboard in a way it's never been used before?
The Cardboard Costume Challenge begins....
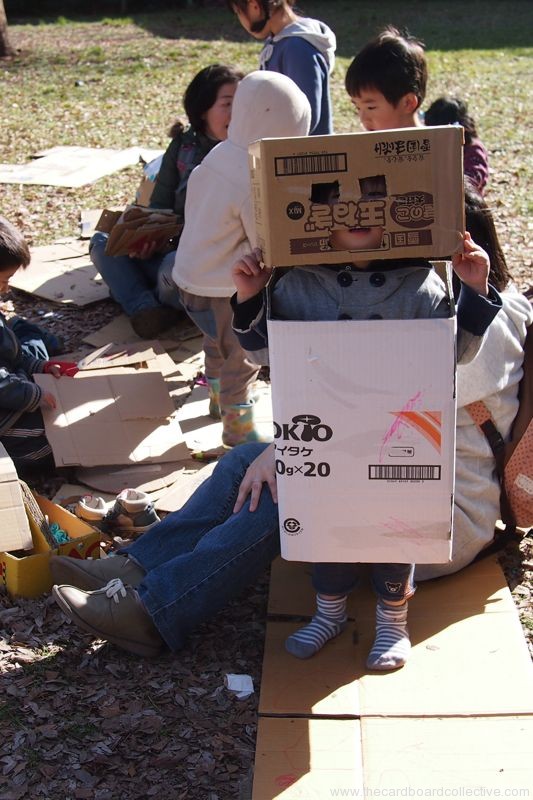
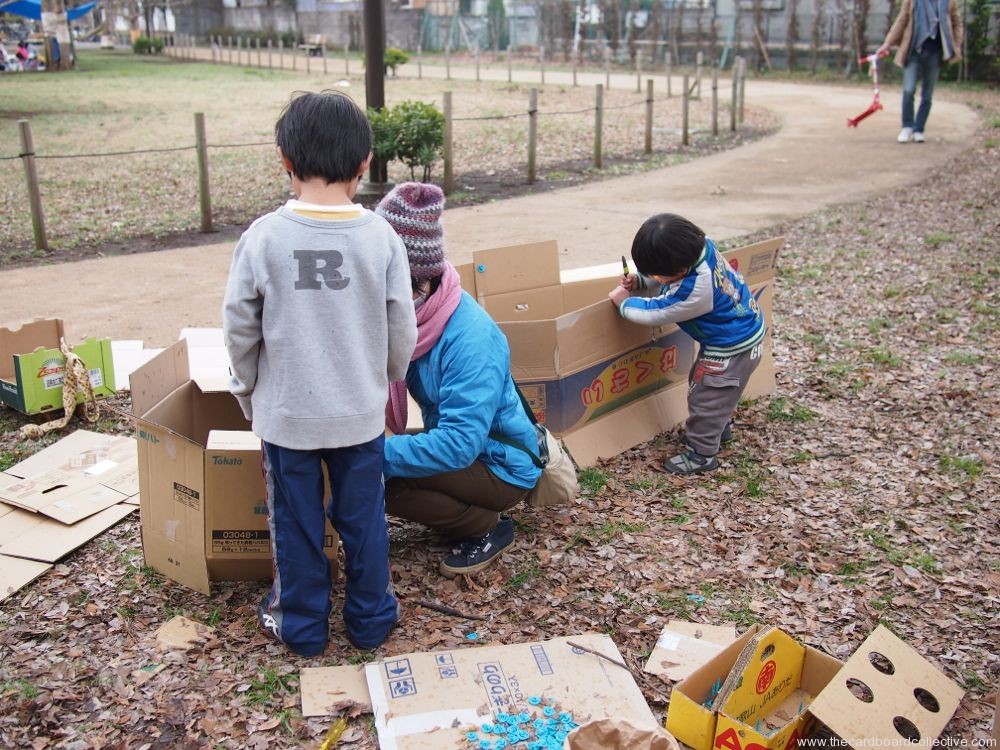
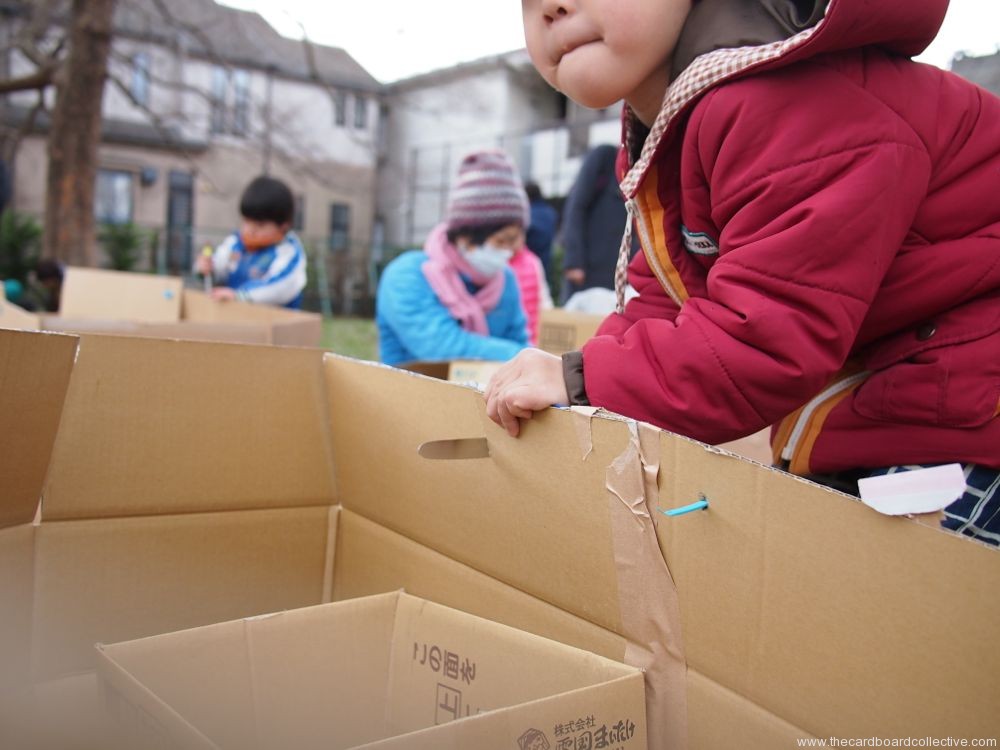
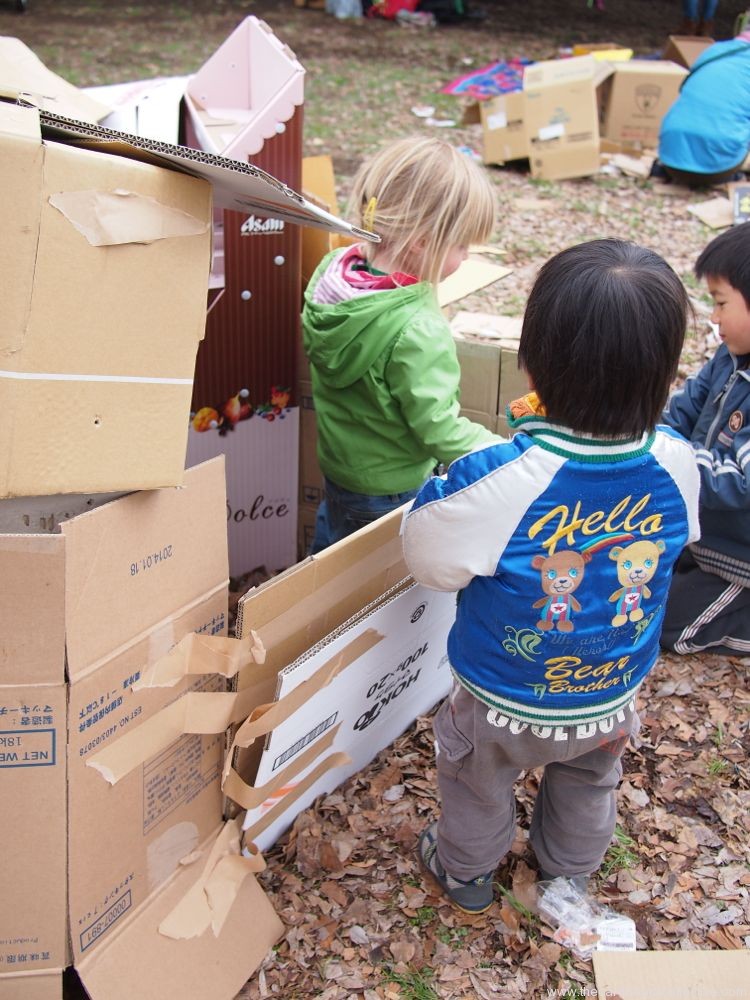
Pop-Up Cardboard Play Day #7
Another cardboard adventure out in the park!
This time I learned something important.
I love DEconstruction,
but
not destruction.
The kids that came out to play built a fun labyrinth of houses/caves and then slowly took the whole thing apart. It was really great just watching them. I saw a two year old saw cardboard for about an hour straight. In the same groove. I loved it.
Later in the week I took just the Windballs to another park to play, and a few teenage boys kicked them around a bit. It was good, I was glad to see them enjoying them, but then they just stomped on them, shattering the MakeDos to bits before running off. I didn't love it. My teacher voice came out.
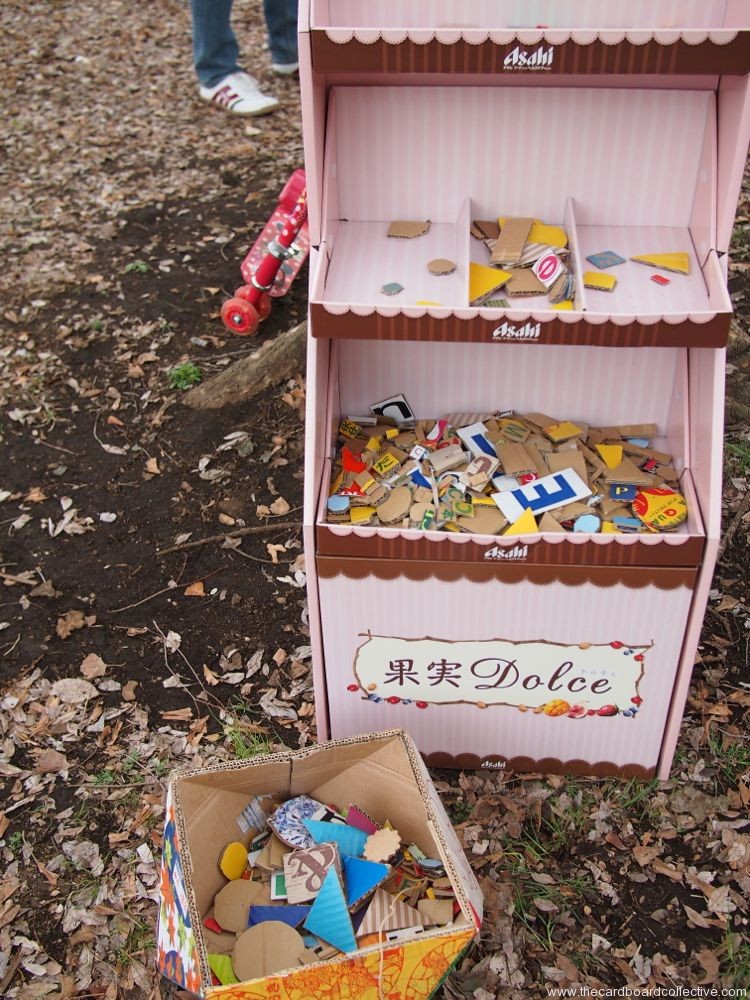
Did you see the adorable pink cardboard kitchen that I found at the grocery store where I sourced all the cardboard?
My Wolf Twin in Coll d'en Rabassa
My wolf twin lives in Mallorca, Coll d'en Rabassa! He's having the same trouble scaring Japanese commuters, children and beagles as me...
Pep sent some great process shots as well. I love the eye balls.
Wolf head pictures courtesy of Pep Ruitord at http://www.paparra.tumblr.com/
Decorative Repair
...some experiments in repairing books in a way that adds something.
Wouldn't it be nice to add a little poem to a torn page, or a note saying something like...
It's O.K.
Don't worry.
I used Japanese rice paste, (called Nori) and some pretty paper scraps. It was a hard choice sometimes between colors that follow the mood of a book and others that contrast it.
I also tried to fix a glass apothecary jar I use for things like buttons. It broke in a way that created a large hole, but no cracks, so washi tape was enough....
And lastly, my basket for thread. The edges of the basket were cracked and the whole thing was falling apart. The colors of the paper always brighten my mood, and I can still see my thread peeking through patches of the basketry.
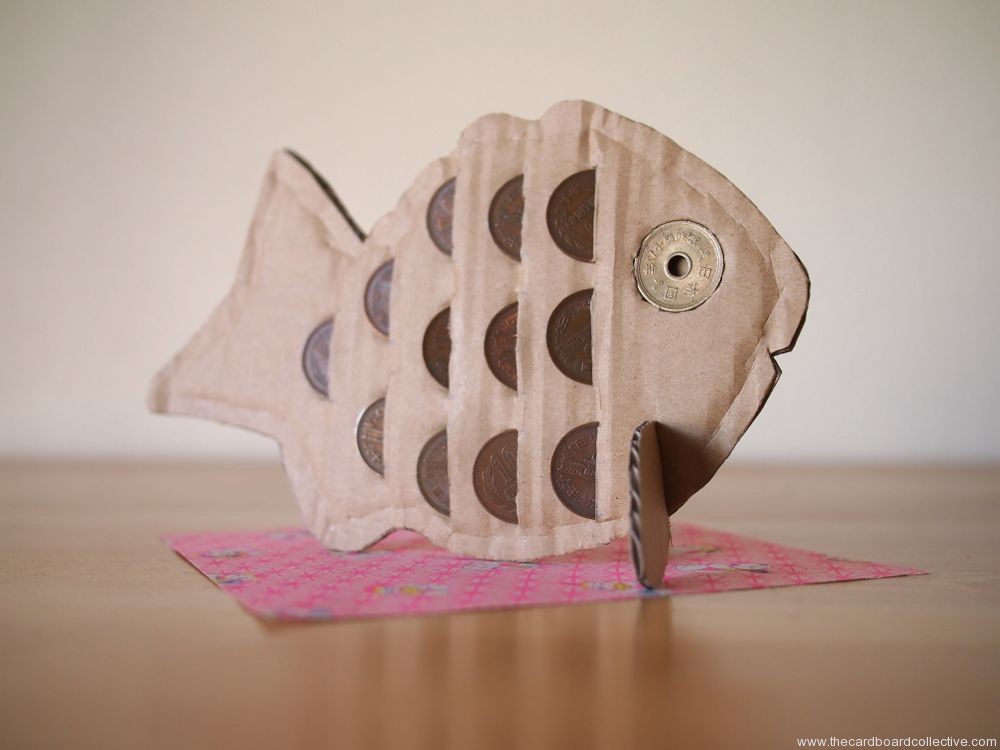
Cardboard Coin Bank
Steam-y, sweet taiyaki, is a well-loved treat here in Japan. It's a food that gives everybody a warm, happy thought just dreaming about it. If you've never tried it, or even heard of it, I would describe it as something like a stuffed waffle. Typical fillings are cream, custard or sweet bean, but I've also seen an ice cream version.
You can use this bank to collect the coins you need to buy taiyaki with 10 and five yen coins, but even if you never do try taiyaki, I hope you use the idea to make a new kind of bank of your own. Think of the possibilities!
This is also the last project for my collaboration with Eco + waza for their Tomorrow Box subscription. It has been an exciting challenge to come up with projects that can be made from product packaging, and I hope to do more of this type of work in the future!
To make taiyaki you will need the template, scissors, utility knife, glue, clips and cardboard.
Simple steps:
1. Use the template to trace and cut two fish and one set of fins from the cardboard.
2. Use a utility knife to cut the slits and hole for the eye on one of the fish.
3. Glue the two halves of the fish together, using clips to secure until dry.
4. Attach fin and insert coins.
Our favorite place to get taiyaki in Tokyo is at Takane's in Mitaka (after we dig seashells, by the seashore, Whew!) They've been making taiyaki and traditional Japanese sweets since the 50's, and they are really really delicious!
Cardboard Bear Desk Organizer
I've been playing around with making templates and shapes from things you find in the kitchen, so here's a funny little animal that was born out of that process, and was inspired by some similar wood and ceramic pieces I've seen on the internet as of late.
You'll need a cardboard tube, corrugated cardboard, scissors, white glue, a drinking glass and a spoon.
Simple Steps:
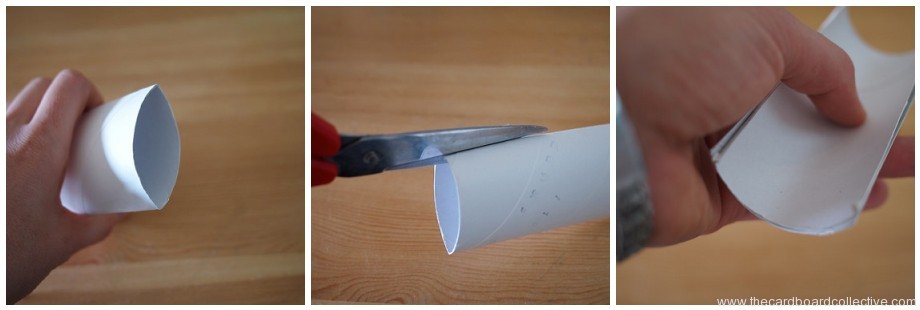
1. Flatten the toilet paper tube and cut along both creases to cut the tube in half. 2. Layer the two halves of the tube together to make the cradle for the organizer.
3. Use the mouth of the drinking glass as a form to trace the curves for the front and back of the bear's hips and shoulders. Cut.
4. Trim the tube to the desired length and assemble the organizer by gluing the tube to the hip and shoulder pieces. Secure with a rubber band while drying.
5. Use the base of the drinking glass as a form to trace the bear face, add ears, cut. Glue face to the front of the organizer.
6. To make the nose, trace the curve of a teaspoon, cut in half and glue to the cardboard face.
Spoon, glass, plate, spatula...... hmmm. What else can we make?
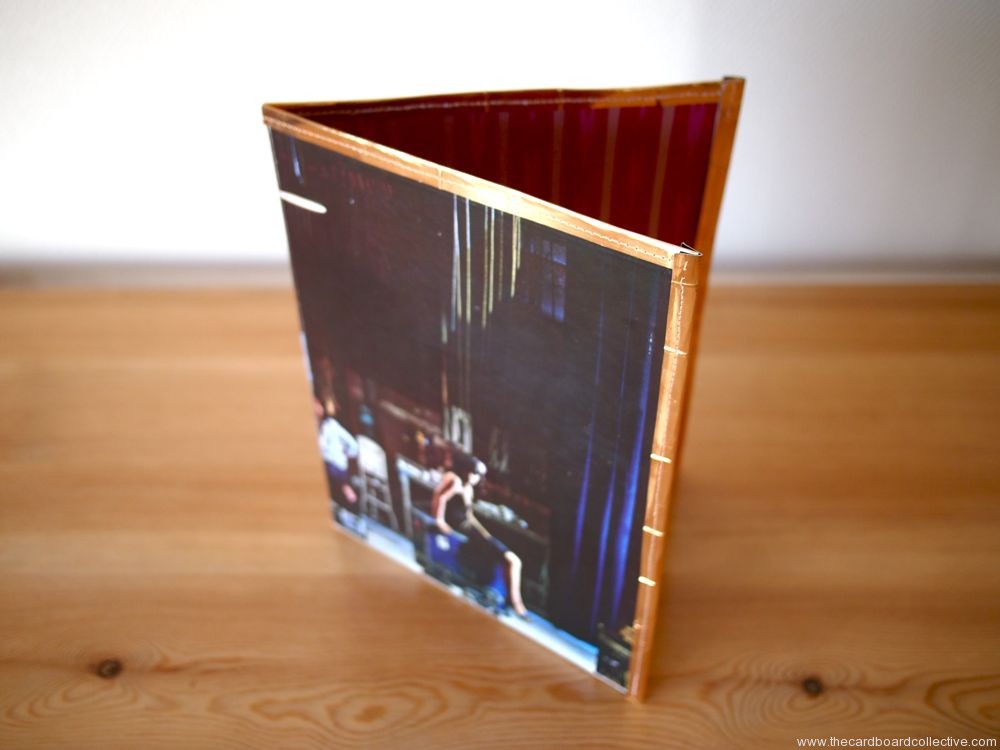
Album Cover Pocket Folders
During my New Year's cleaning I unearthed a stack of album covers that I've used on many projects over the course of the last two years. As I contemplated finally recycling what was left, the photograph on the cover of this Linda Ronstadt album piqued my interest. I sat and stared at it.
I thought
.......prettiness, that's what I'm seeking right here and now in the middle of winter, that feeling.
So I brushed and cut my hair, pulled on my brightest striped sweater, and got busy making something pretty.
because of you Linda.
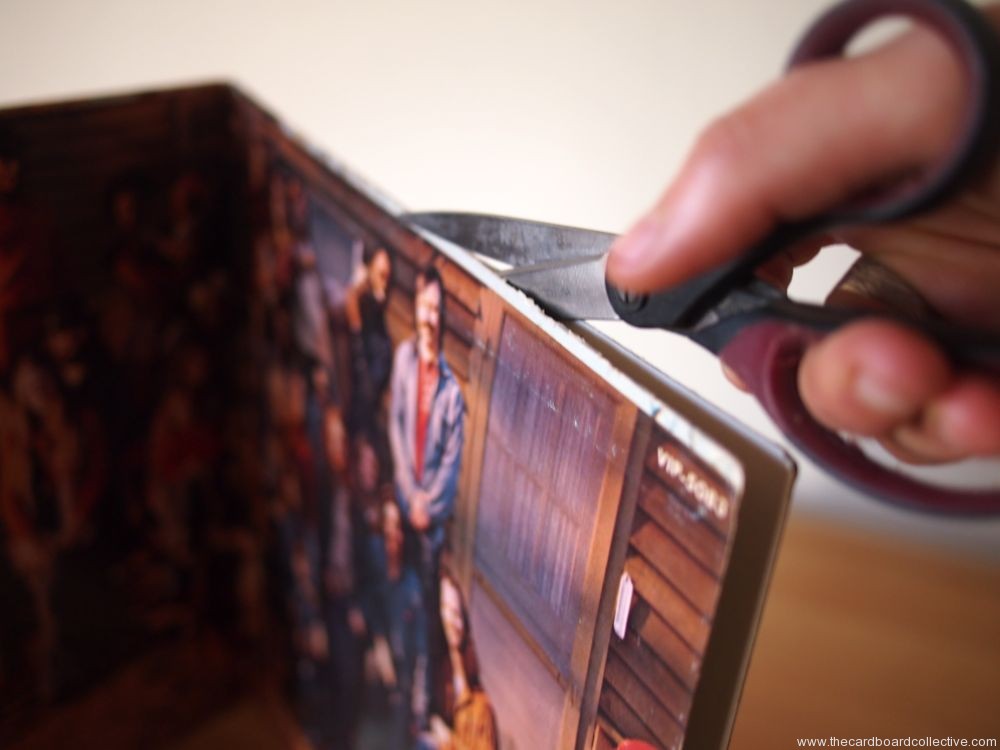
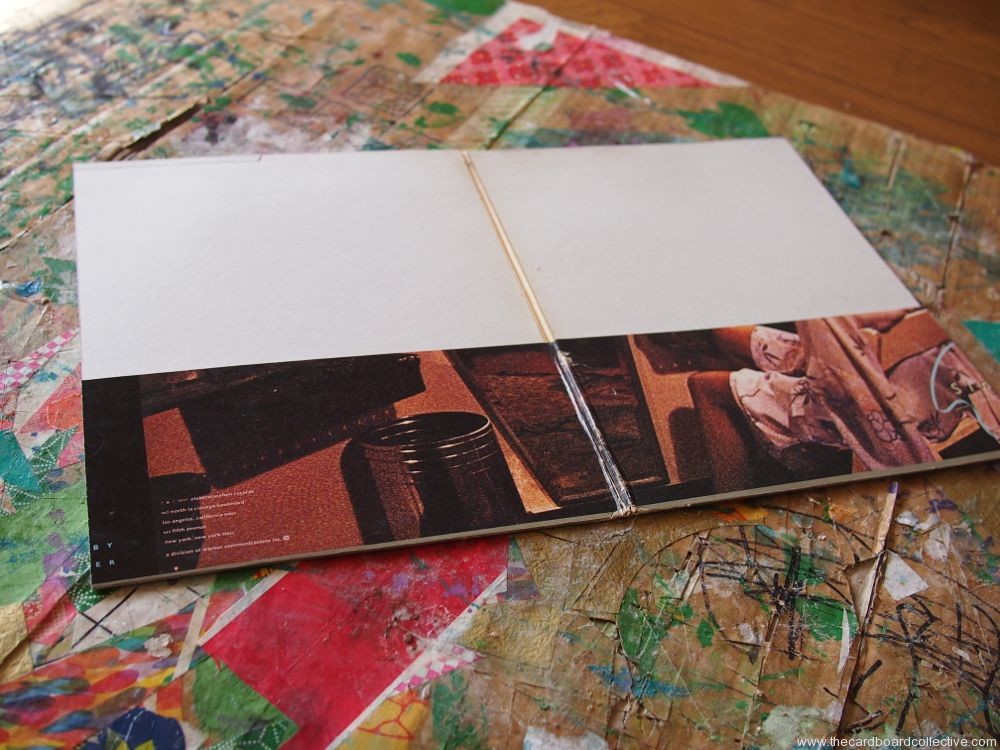
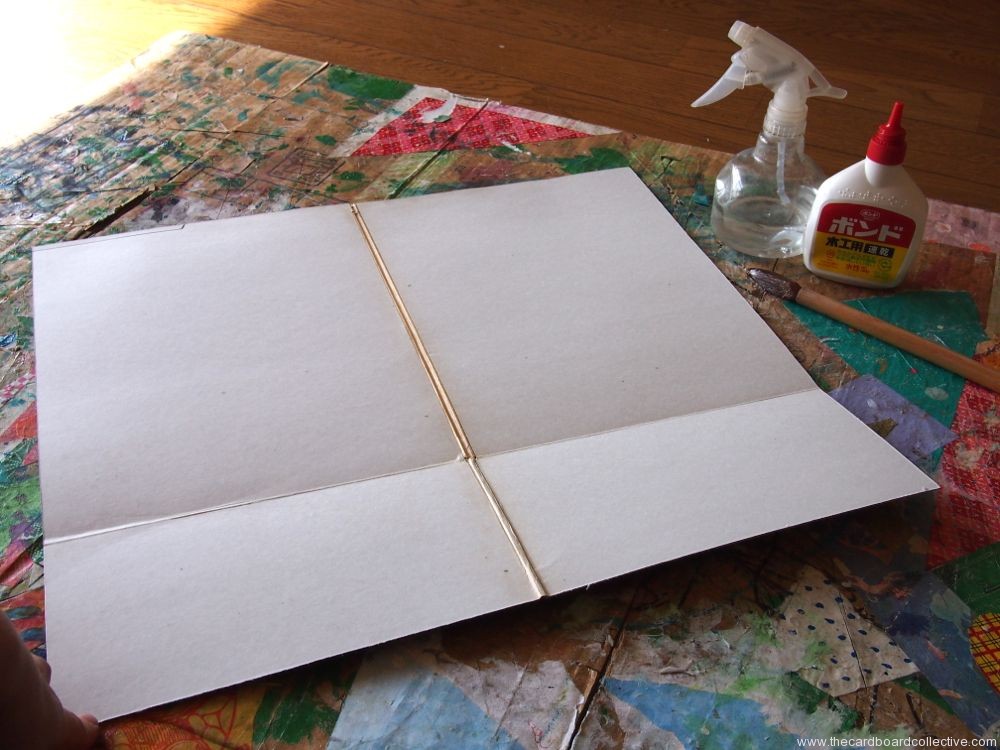
Start with a double pocket style album cover. Cut the album cover to the dimensions of 19" (48cm) x 12.5" (32cm). The height of the pocket is 4.5" (12 cm)
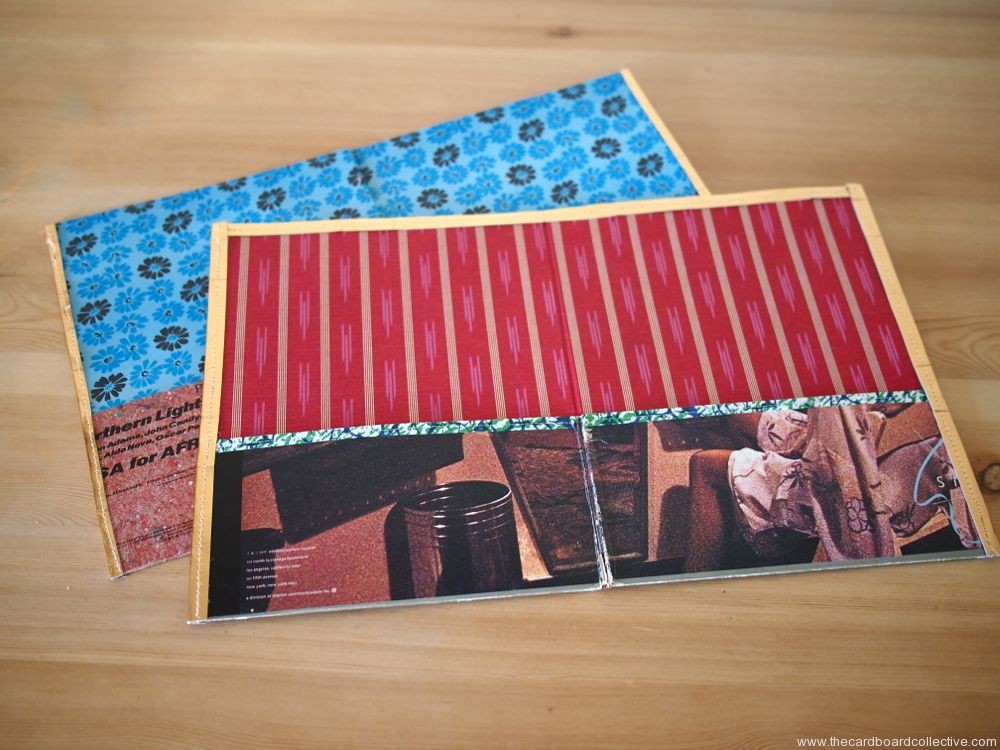
This is where you can add some pretty paper if the inside of your cover is aged.
The last and most interesting part of this project is the trim. I used strips of interesting paper and gold cardboard folded over the edges (about 0.75"/2cm wide). You can glue the trim down, but I sewed it onto the folder using a standard needle and my sewing machine. I used the hand treadle to get started and then back-stitched at the beginning and end.
Cup of cocoa anyone?
Return!
After a wonderful holiday in Vietnam with my family and friends, we suffered a flu outbreak and a broken camera. Many regrets for my delayed absence! There are some new projects on the horizon, and I wanted to start by showing you a few treasures from our trip.
The wooden stamp above is from Hoi An. There are a few sellers in the old town set up street-side who have a turn-around of 1 day. I'm not sure how they are able to carve wood so quickly and with such precision, but the stamp takes me back to that beautiful city draped with silk lanterns and flowering vines, as well as memories of so many amazing meals!
The patterned paper which was being sold en mass at the market in Hue is used for making effigies that are burned for the New Year's celebrations. They had a million different colors and patterns, but since I was traveling by bike that day I could only bring back what I was able to slog along on a full day of sightseeing.
I hope to be plastering many future projects happily........... with double happiness paper.
Cardboard Christmas Star
This has been my first experience decorating a Christmas tree as an adult. After university, I always lived overseas and traveled on my holiday break. Once we moved to Japan and started our family, the girls were always so little and then there was the question of space, storage and living or artificial tree.
I ended up finding a little artificial tree at the recycling center and the girls have fallen in love with it. They made pomanders, threaded glass beads and popcorn, and covered it with the 100 tiny paper cranes that one of my husband's students gave to him several years ago.
We were missing a star though, and although the one I made for the top is a little serious for our kid- decorated tree, I hope we will grow into it over time.
Simple Steps:
I used recycled gold cardboard that I've collected, but you can use thin cardboard and gold paint to get a similar effect.
Cut out two cardboard circles, a little larger than a spool of thread, and then trace the spool in the center of both circles to use as a guide for gluing the spindles.
Cut spindles to measure: about .25cm x 6.5cm (about 75-100 pieces.)
Glue the pieces onto the circle.
Cut out your stars (2) and score. The original idea for this project came from the tutorial by grey luster girl. I changed the size and shape of my star to fit this project. To make the star, I made a paper template by folding it up like a snowflake and then cutting it until I got the size and shape that I wanted.
Glue your stars onto the spindles.
To make the base of the star, fold a piece of cardboard in half to make an ice-cream cone shape. (Simpler and more effective than the pyramid one I made.) and glue your stars and spindles to both sides.
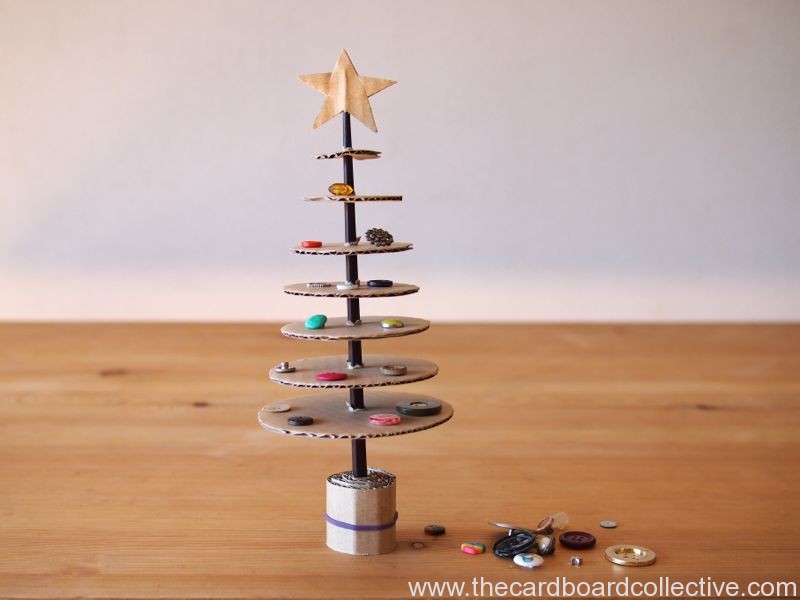
Cardboard & Button Christmas Tree
I made this little table top Christmas tree for the girls. They are really into stringing beads and buttons these days. They love the act of decorating (and redecorating) a tiny tree.
This is also the perfect little something to send to someone who doesn't decorate much for the holidays ...... you can stuff it in an envelope.
We collected some of our orphan buttons from the ground around train stations and parks we frequent here in Tokyo and some are from our old clothes.
To make the tree:
You will need a chopstick, scissors, cardboard and a rubber band.
Trace around the mouth of a drinking glass and add 1cm to the diameter to make the largest section of the tree. Cut it out.
Continue tracing and cutting out the circles, making each one about 1cm smaller than the last. I ended up with 7 layers.
Poke a hole with the chopstick through each circle and thread it onto the tree, starting with the largest. Be careful not to push the circles down too far.
Draw and cut out a star by lining up the corrugations so that you can thread it onto the top of the chopstick.
Cut a long strip of cardboard (about 2-3cm wide) and roll it up with a rubber band to make the base.
Decorate with your favorite orphan buttons or disassemble and send to a friend.
Cardboard Turn-taking Cube
This cardboard die was made in an attempt to settle disputes in our house. My youngest had just turned two, and well, no dice, it didn't work at all. The two of them actually fought over who got to play with the cube, so I just put it on my shelf, and chalked it up to a failed experiment.
At two and a half though, things have changed for the better, and the "turn cube" is doing me some justice.
Just a cardboard cube, six photos and assorted washi tape is all that you need. If you have an odd number of children in your family, you'll need to put a "roll again" message on one face of the cube, and if you have more than 6 kids, well, I'm sure you've figured out a better system than this for maintaining your sanity!
For instructions on how to make the cube, you can find them here, in the book I sell in my Etsy shop. The pattern also explains how to make large cardboard blocks that you can take apart and store flat, a really cool design.
Otherwise, try a plain cube-shaped cardboard box, often the ones that ornaments come in at this time of year are perfect!


