![www.thecardboardcollective.com](http://static1.squarespace.com/static/5b85e07545776ea77ed679c3/5b986167536499977bd8530b/5b9863b6536499977bd896e5/1536713654599/p1013459.jpg?format=original)
A new watermelon box creation! A hideout for my two little pipsqueaks.
![into the cheese www.thecardboardcollective.com](http://static1.squarespace.com/static/5b85e07545776ea77ed679c3/5b986167536499977bd8530b/5b9863b7536499977bd896ec/1536713655295/into-the-cheese.jpg?format=original)
This little place was a lot of fun to build, and I love the idea of a hideout that's triangular in shape. I spent about 2 days working on this project off and on, because I had to take breaks when my arm got tired of sawing through all that cardboard.
![www.thecardboardcollective.com](http://static1.squarespace.com/static/5b85e07545776ea77ed679c3/5b986167536499977bd8530b/5b9863b7536499977bd89706/1536713655989/p1013393.jpg?format=original)
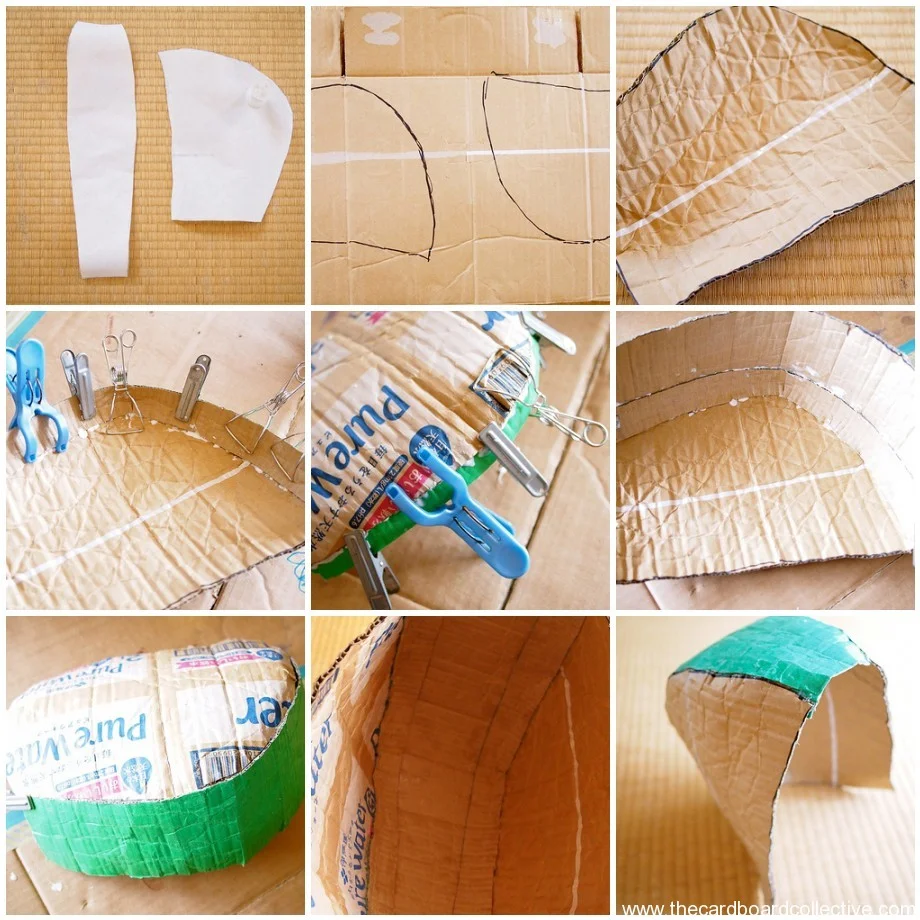
The watermelon box I started with already had lots of holes in it, so I enlarged some of them to create my "Swiss cheese matrix" on all three sides.
![www.thecardboardcollective.com](http://static1.squarespace.com/static/5b85e07545776ea77ed679c3/5b986167536499977bd8530b/5b9863b8536499977bd8970b/1536713656683/p1013389.jpg?format=original)
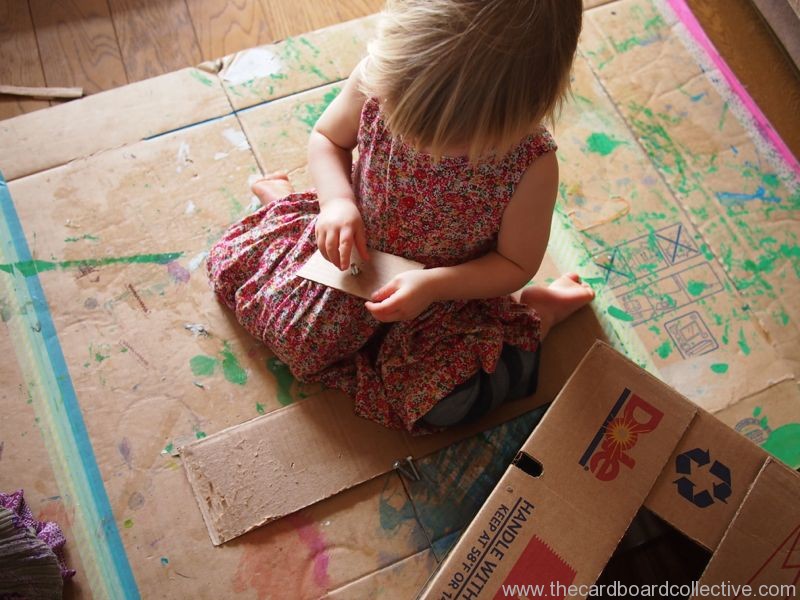
I started by figuring out the rough dimensions of the little fort by folding the box in different places until I found what worked best for a roomy wedge of cheese.
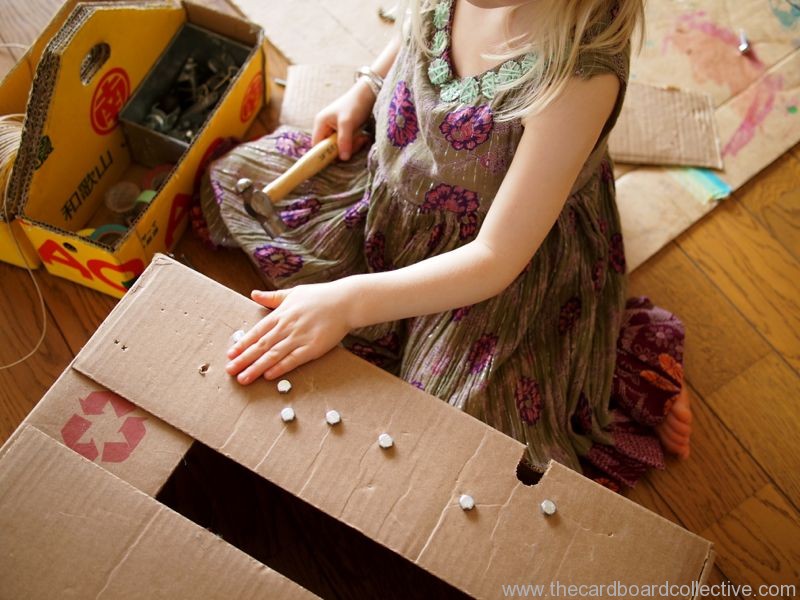
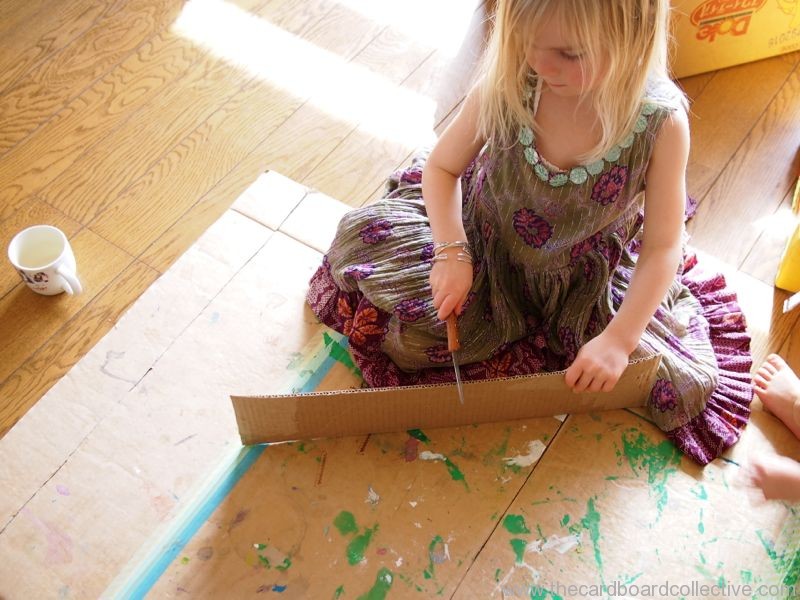
This box had about eight creased corners, so I cut cardboard strips about 6 inches wide and glued them over the unwanted creased portions so the cardboard wouldn't bend in the places I didn't want it to.
![www.thecardboardcollective.com](http://static1.squarespace.com/static/5b85e07545776ea77ed679c3/5b986167536499977bd8530b/5b9863b9536499977bd89726/1536713657375/p1013462.jpg?format=original)
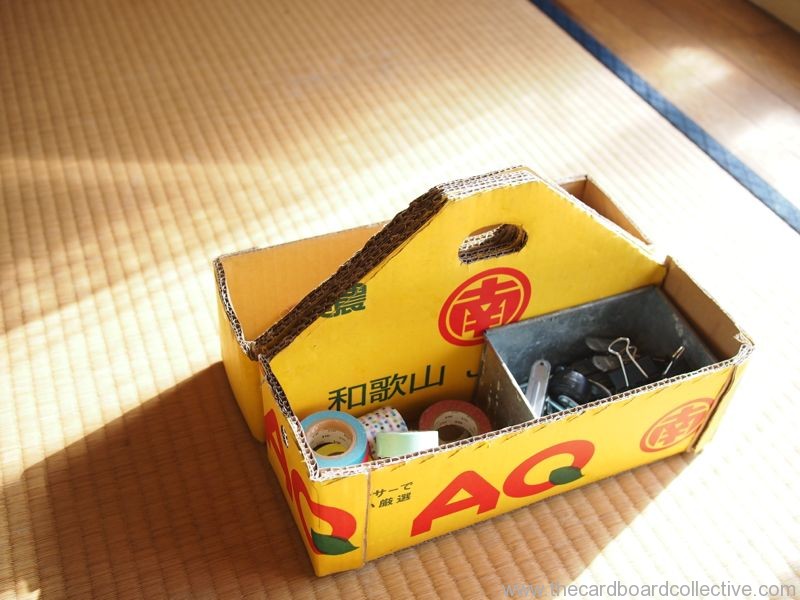
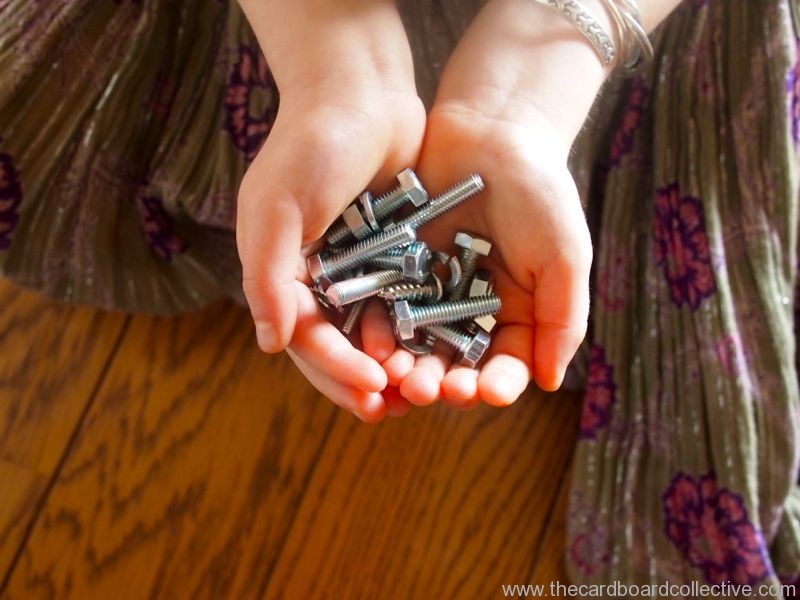
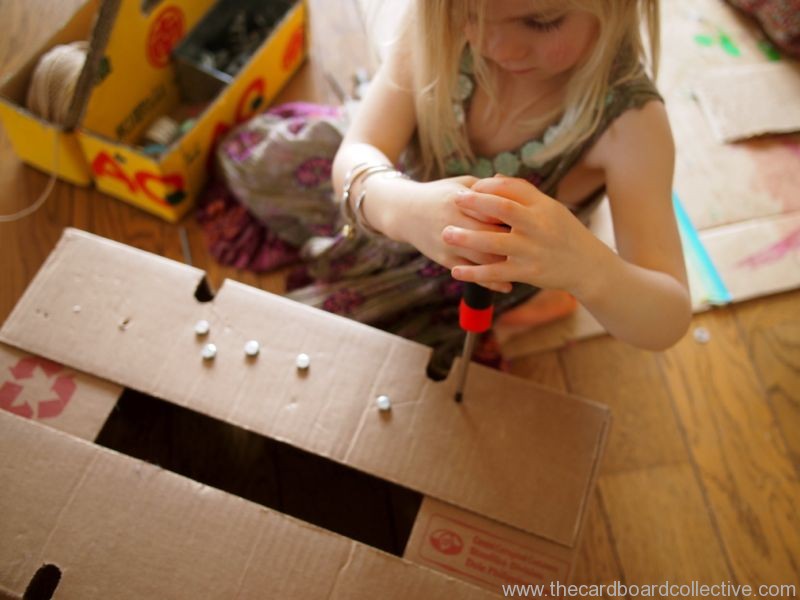
After securing the cardboard and cutting out all the holes from the sides, I put a nut and bolt with a washer in the side to keep everything together and make it easy to disassemble. ![www.thecardboardcollective.com](http://static1.squarespace.com/static/5b85e07545776ea77ed679c3/5b986167536499977bd8530b/5b9863ba536499977bd8972b/1536713658070/p1013533.jpg?format=original)
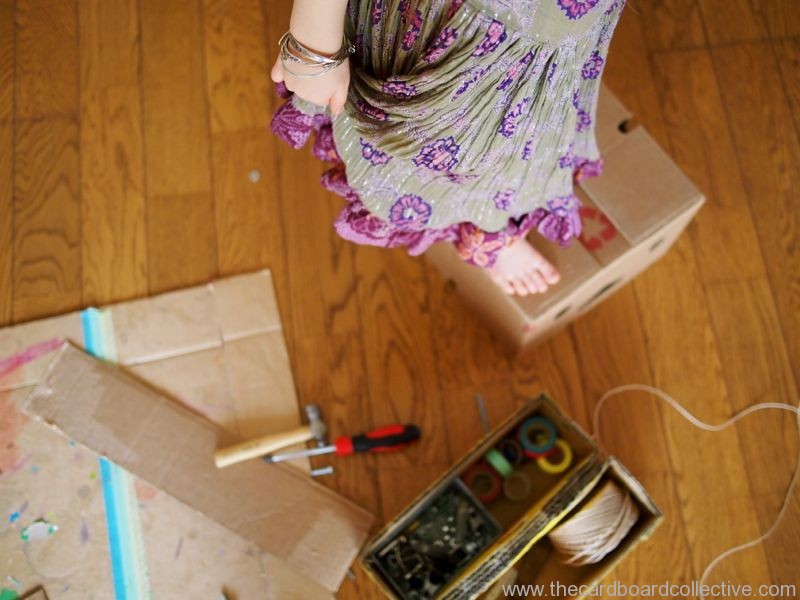
Last step was creating a top piece out of lighter cardboard so that the girls could open it easily.
![www.thecardboardcollective.com](http://static1.squarespace.com/static/5b85e07545776ea77ed679c3/5b986167536499977bd8530b/5b9863ba536499977bd8973f/1536713658763/p1013540.jpg?format=original)
I added a coat of yellow paint, but I think it would be just as nice plain brown. I also thought pink washi tape would liven up the holes, but you can see where that's all going to end up.
![ripping tape off cheese 2 pic](http://static1.squarespace.com/static/5b85e07545776ea77ed679c3/5b986167536499977bd8530b/5b9863bb536499977bd89758/1536713659456/ripping-tape-off-cheese-2-pic.jpg?format=original)
I'm looking forward to the day when they'll be building their own little cardboard nests... And hey, did I tell you where some of our other watermelon box scraps have ended up?
![www.thecardboardcollective.com](http://static1.squarespace.com/static/5b85e07545776ea77ed679c3/5b986167536499977bd8530b/5b9863bb536499977bd8975a/1536713659811/p1013084.jpg?format=original)
These came shipped in a cardboard box that we picked up at the local post office.
![www.thecardboardcollective.com](http://static1.squarespace.com/static/5b85e07545776ea77ed679c3/5b986167536499977bd8530b/5b9863bc536499977bd89770/1536713660166/p1013132.jpg?format=original)
![www.thecardboardcollective.com](http://static1.squarespace.com/static/5b85e07545776ea77ed679c3/5b986167536499977bd8530b/5b9863bc536499977bd89773/1536713660528/p1013136.jpg?format=original)
They're not ours to keep. We're just babysitting for grandma...