best
Cardboard Lobster Costume
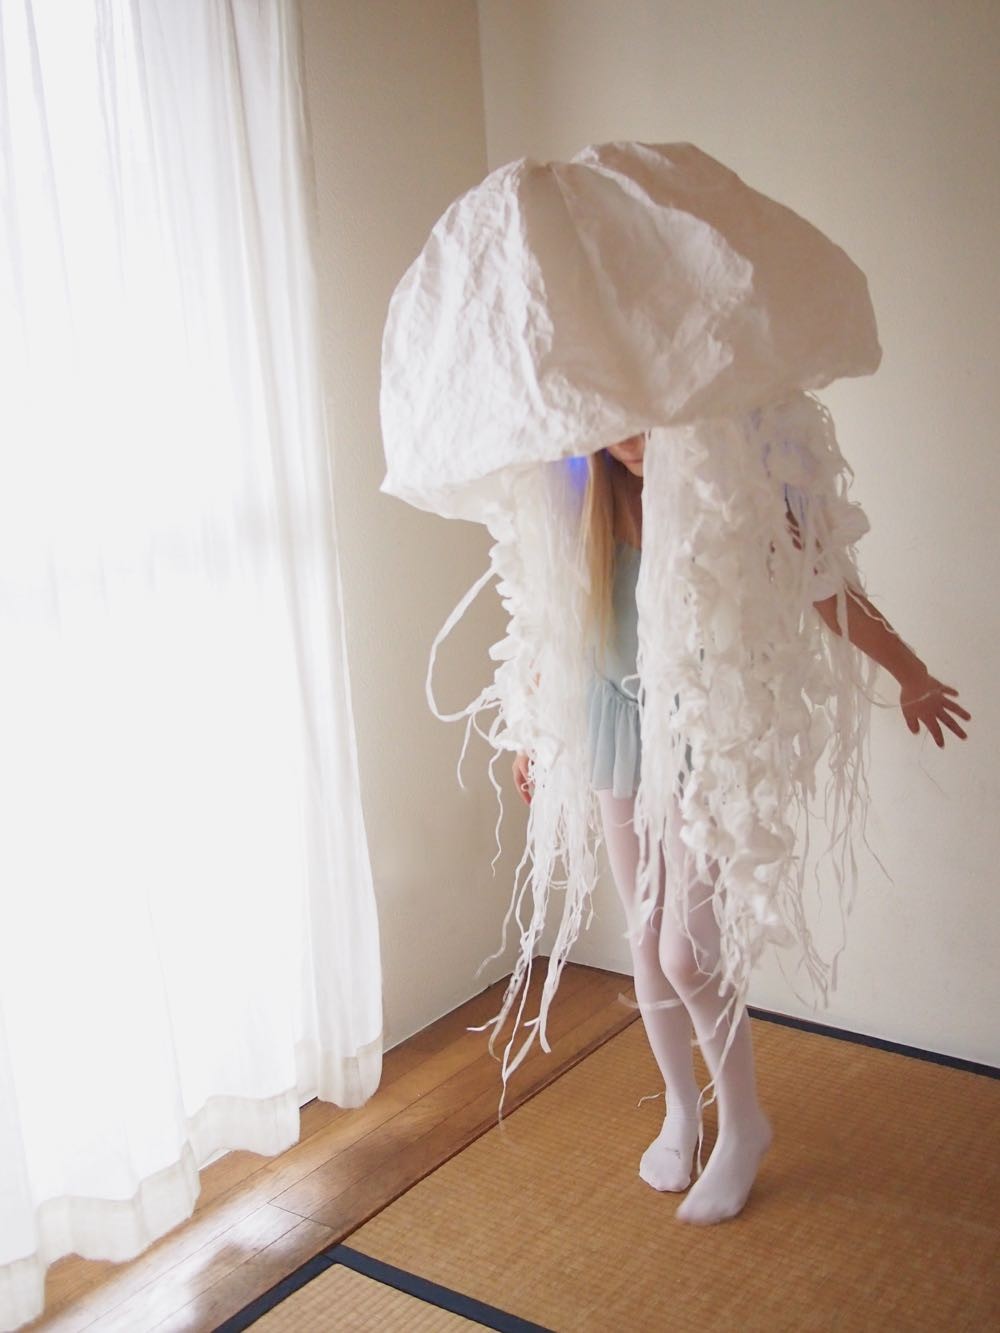
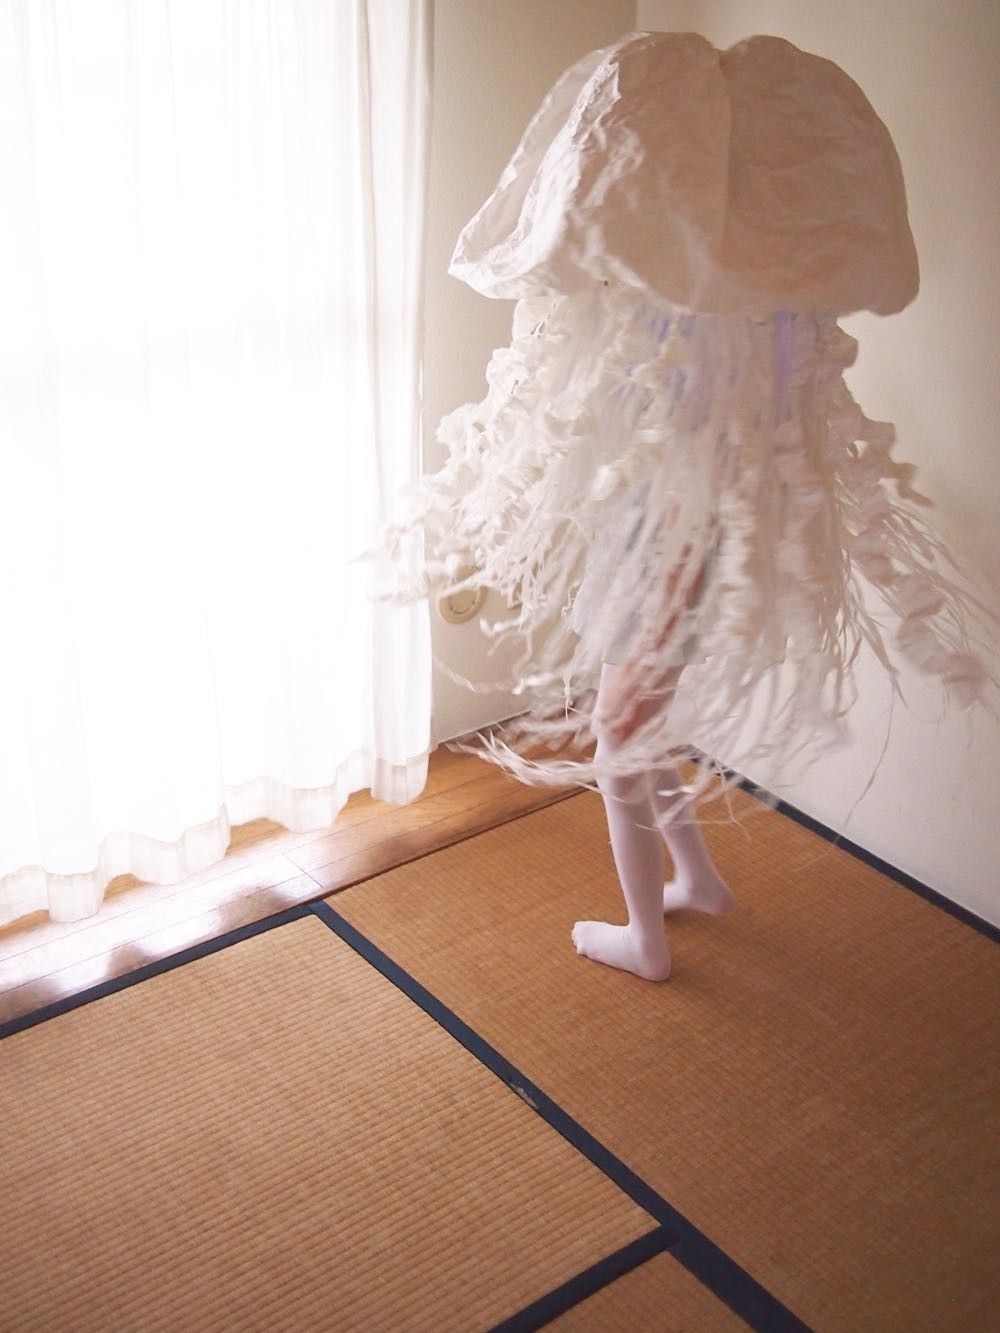
Paper Jellyfish Costume
Cardboard Octopus Costume
Red Velvet Worm, Crossing Signal and the Golden Gate Bridge!
You"ll never believe these costumes sent from a parallel cardboard universe. Interactive lights, secret candy chutes and functioning game pieces. Yeah!
What impresses me most, is the smiles of a family that "makes" together. From hair-brained idea to triumphant march on Halloween night, you can tell they enjoyed the whole process.
I hope you will be as inspired as I was by the favorite cardboard projects that costume meisters Rosie and Ben have created over the years. They sent me these pictures of their costumes for the Cardboard Costume Challenge.
Viva la Halloween!
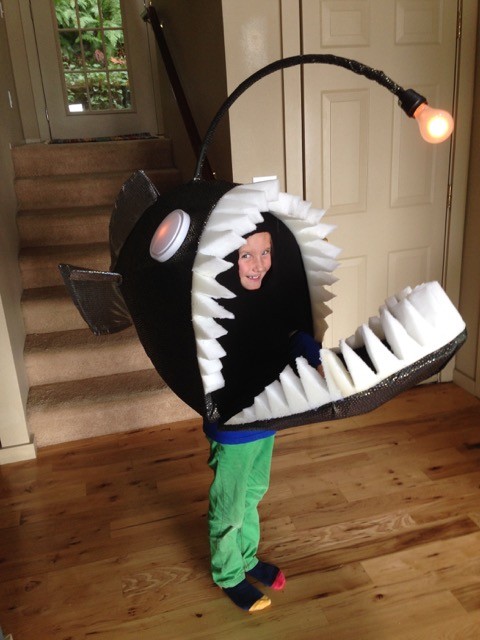
1. Anglerfish. Complete with hinged mouth that opens and closes, push light eyes and an internal switch for the overhead light.
2. Red Candle. Contains an internal switch so friends can "blow" out the candle.
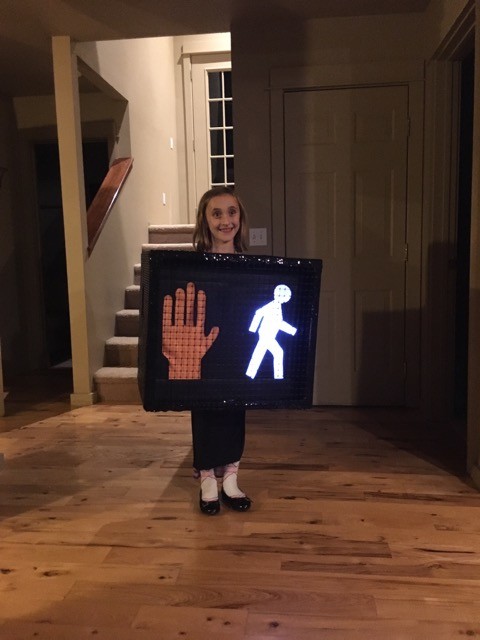
3. Crosswalk. Contains switch from "walk" to "don't walk." So fun!
4. Tropical Pitcher Plant. Fly hat for a finishing touch. Includes chute to drop in candy!
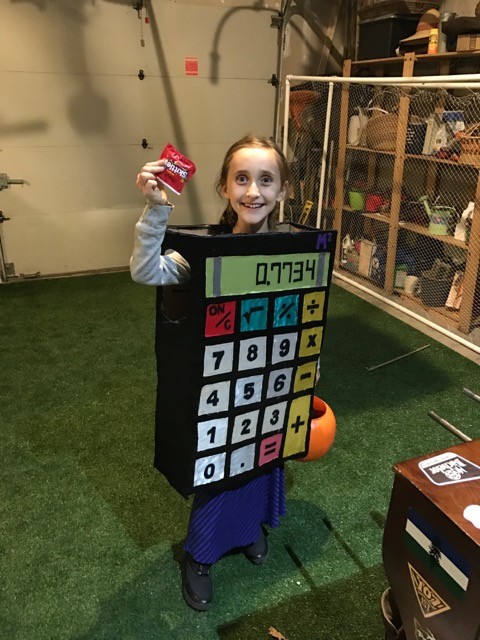
5. Calculator. "hello!"
6. Velvet Worm. Yes, very obscure. Silly string was used for "slime glands."
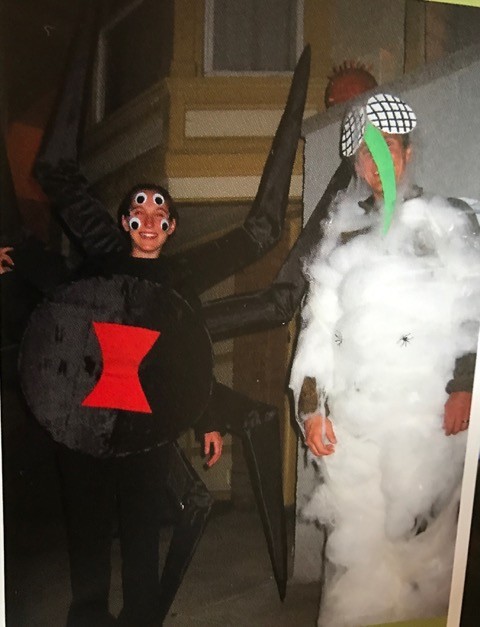
7. Black Widow and Fly
8. Connect 4. Yes, the game actually works. We donated it to a local school after Halloween.
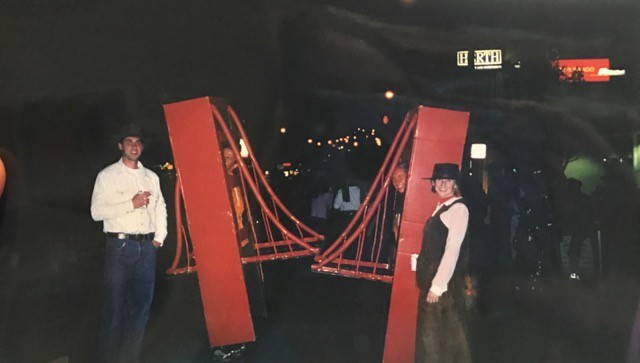
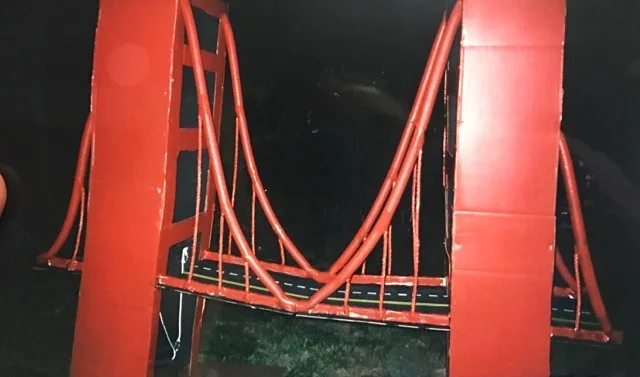
9. Golden Gate Bridge. A hinge connects the road in the middle but we mostly stayed unconnected!
The Time is here! Are you cutting up cardboard yet?
Find out more about the 2016 Cardboard Costume Challenge HERE
Dancing Cardboard Skeleton Costume
Cardboard Queen Bee Costume
2015 Cardboard Costume Parade!
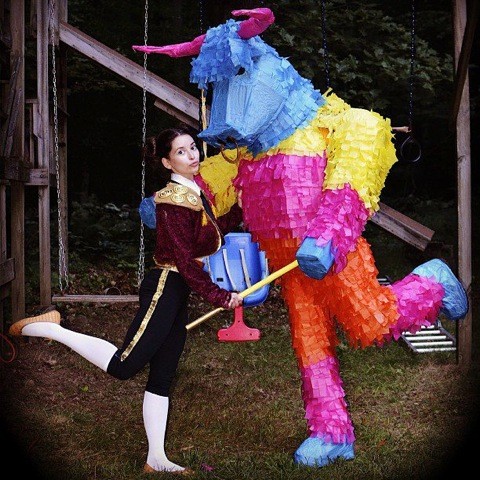
Ren, Stimpy and Log costumes by Matt Lentini and Matador and Bull costumes by Matt and Nicole Lentini
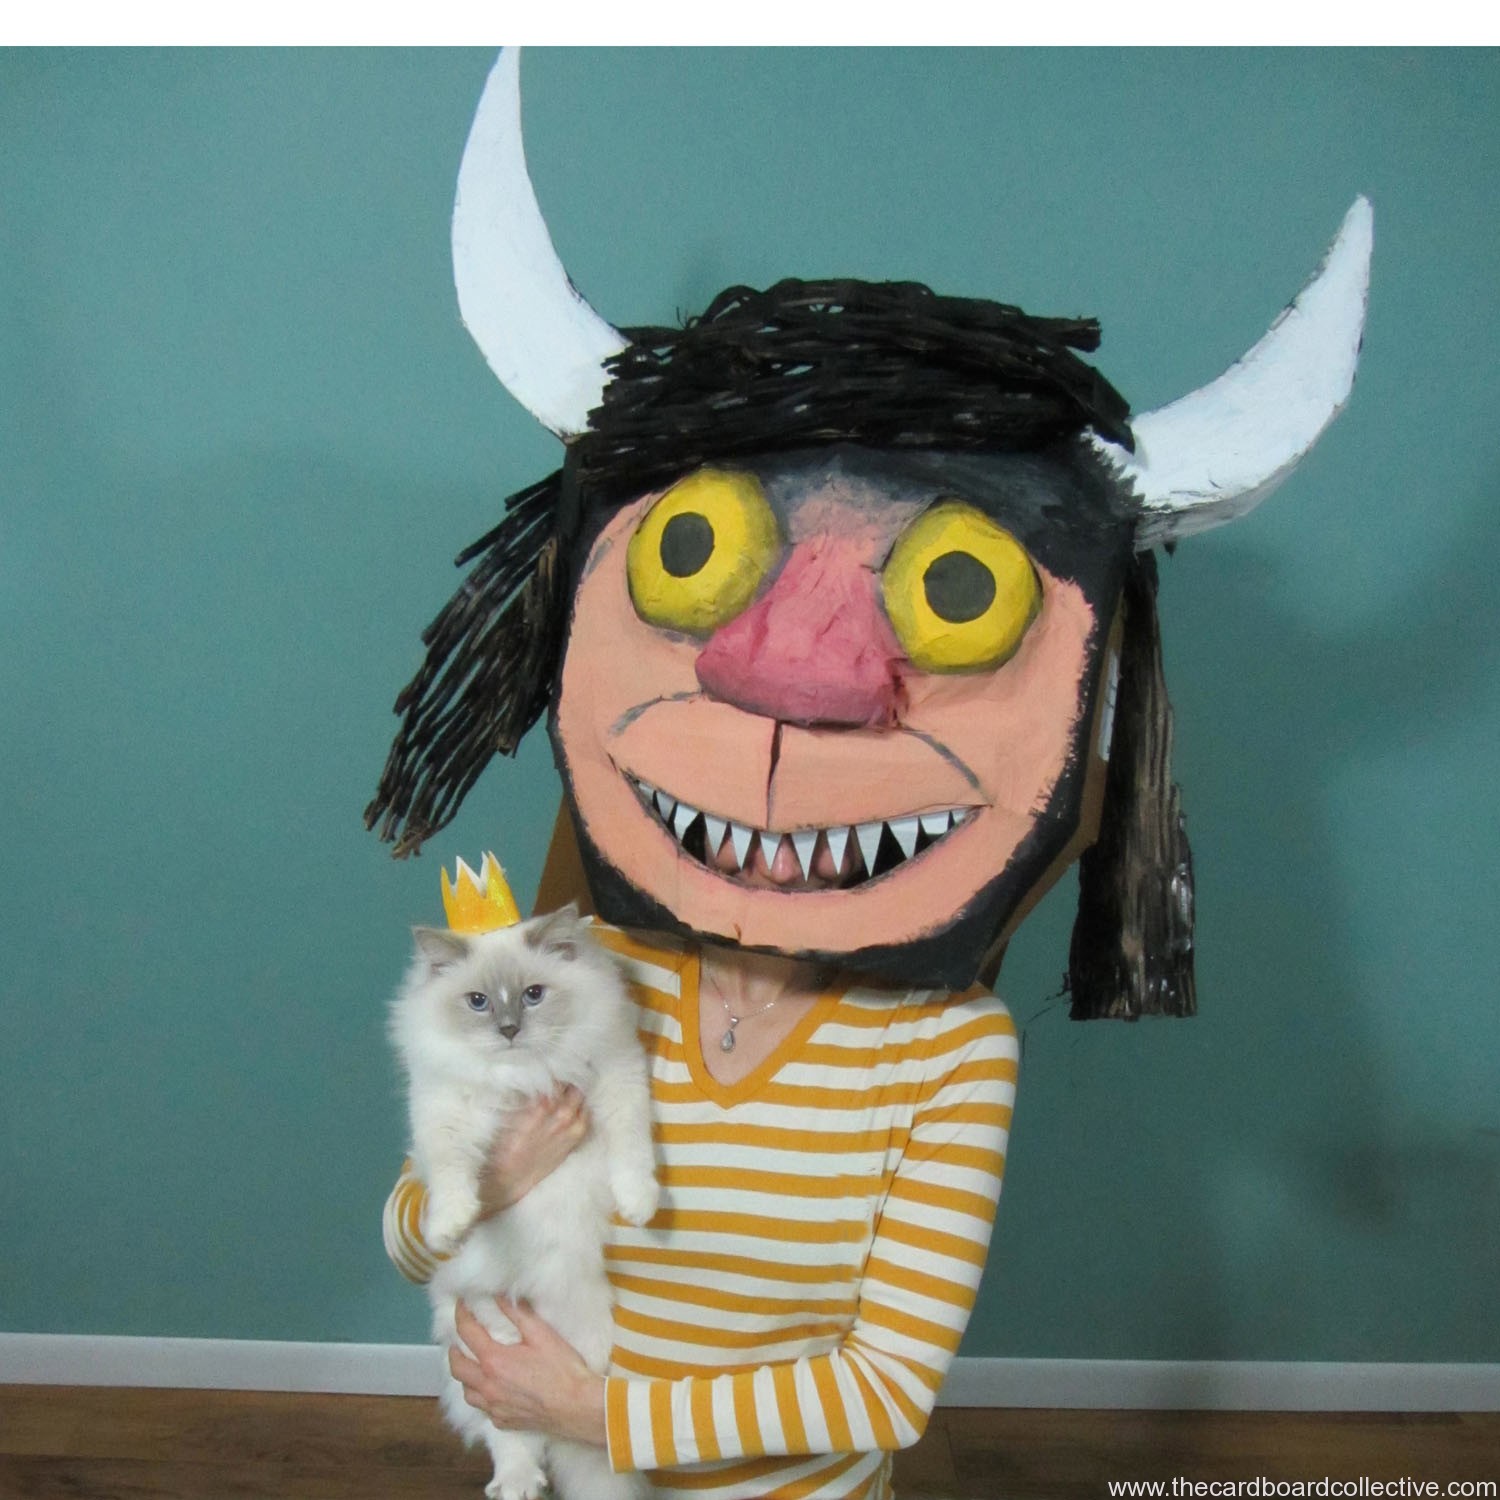
"Wild Things and Max" bicycle-friendly costumes sent by Sarah
Frank-Ein-Stein and Fox Head by Betsy A. Riley
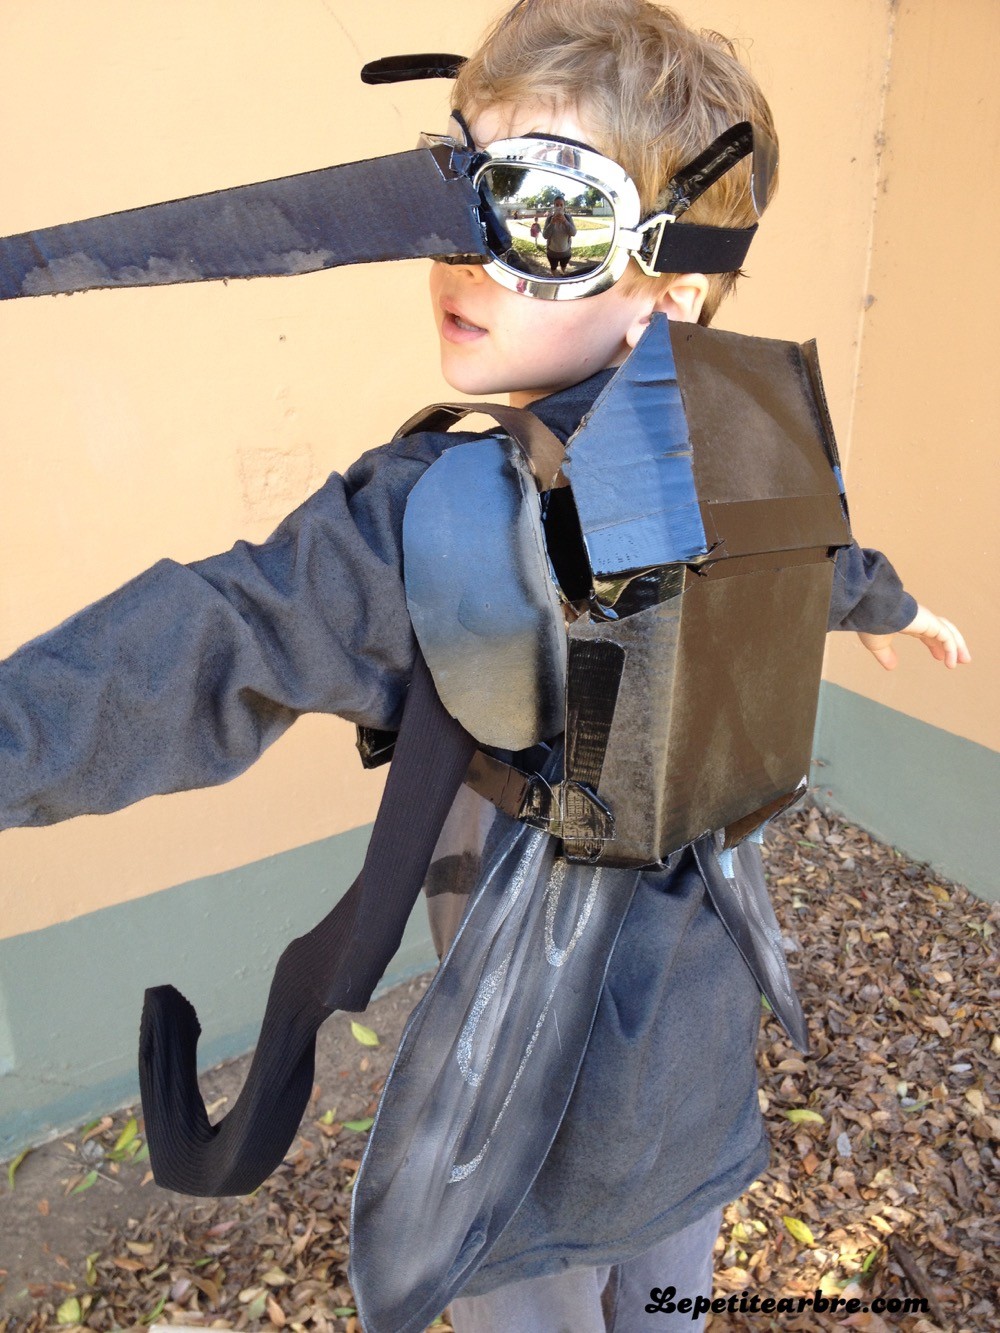
Mosquito costume by Rebecca at Lepetitearbre
Robot costume by Manon Doran see more pictures at her blog Une Dahlia en Westfalia
Do you have photos to send? I'll keep updating this post. I would love to see your photos and the one-of-a-kind costume you made this year!
These costumes are pure cardboard magic. Thanks to everyone that sent photos and Happy Halloween 2015!
Monarch Caterpillar from Cardboard
Cardboard Monarch Caterpillar Costume by Amber
Made from recycled materials and recyclable
cardboard, Japanese paper rice bags, white glue, staples, thread, steel-toothed zipper, caster wheels, acrylic paint
Thinking in Cardboard
As we kick off another march towards Halloween, it's time to think in cardboard. What shapes do you see? What faces are peering out at you?
How can you use cardboard in a way it's never been used before?
The Cardboard Costume Challenge begins....
Luna Moth Costume
Cardboard Lightning Bug
More Cardboard Costume Challengers
A few spectacular cardboard costumes sent in, and don't forget to check out the Flickr pool if you haven't already!
Cardboard Costume Challengers
Cardboard Grasshopper Costume
Cardboard & Newsprint Unicorn Costume
To make the costume you'll need:
white paper egg cartons
white newsprint or tissue paper (rainbow colors would be great!)
toilet paper tubes
metallic cardboard, (or rainbow paint your regular cardboard)
stapler
Simple Steps:
cut a rectangular strip of cardboard about 4 inches wide and 10 inches long
fringe newsprint, then fold the ends over the cardboard and staple
cut ears from egg cartons and attach with stapler
create cone shaped horn from metallic cardboard and staple down
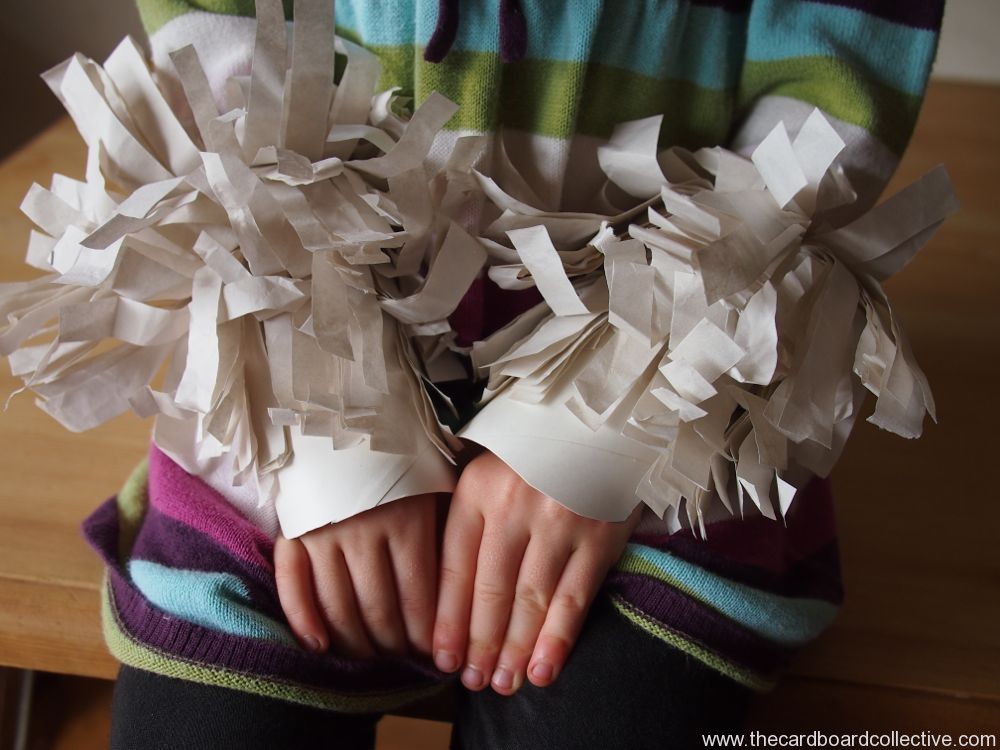
cut toilet paper tubes so that they can fit over your wrists and ankles like a cuff
fringe more newsprint and staple to cuffs (place tape over staples to avoid irritation)
shape the ends of the toilet paper tubes to look like hooves.
Cardboard Heads
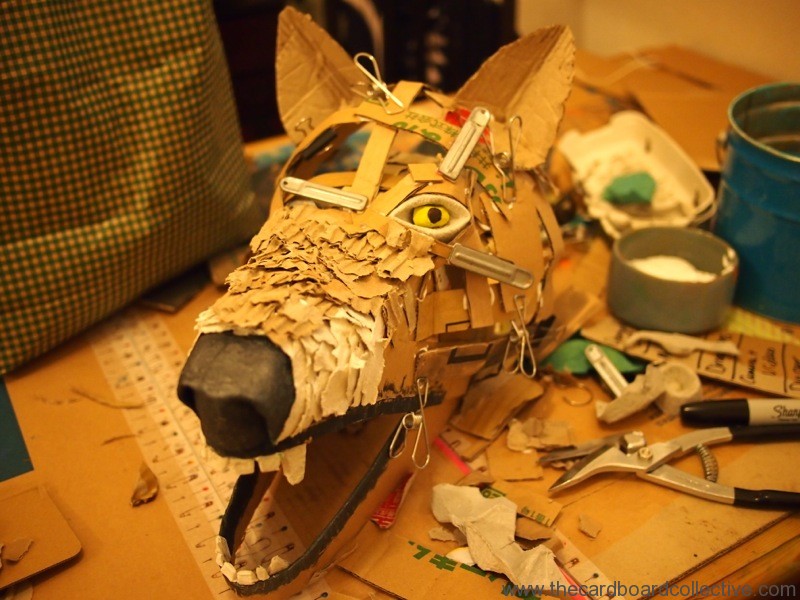
If you're thinking about making a cardboard headpiece for your Halloween costume, this weekend is the time to get started! Last Year we created 2 different kinds of cardboard heads, using two different methods.
The first head was for a chameleon costume, and utilized the hood pattern for sewing a kid's jacket. To read the post about adapting a sewing pattern for use with cardboard, click HERE
The second head was built by making a cardboard skeleton and then gluing down layers of ripped cardboard. You can see more pictures of the development HERE.
Because every cardboard head is a little different, I'll lay out the most basic steps so you can get started. Have fun and experiment, the point is to develop you're own style...
Make a cardboard band that fits snugly around your head.
Create cardboard side pieces that are similar in shape to the skull of the creature if you look at it sideways.
Glue or staple the pieces to the cardboard band.
Use cardboard strips to connect the side pieces and shape the front of the creature's face.
Cover your cardboard head with crumpled up and flattened out copy paper, fringed newspaper, Kraft paper, torn pieces of egg carton or ripped pieces of corrugated cardboard. You can take a look at the Cardboard Costume Pinterest Board for more inspiration.
Here's a great video by John Gleeson Connolly (via Apartment Therapy) talking about how he made a simple cardboard dragon head for his son's Halloween costume using a similar method. http://vimeo.com/51576209
Starry Cardboard Birthday Crown
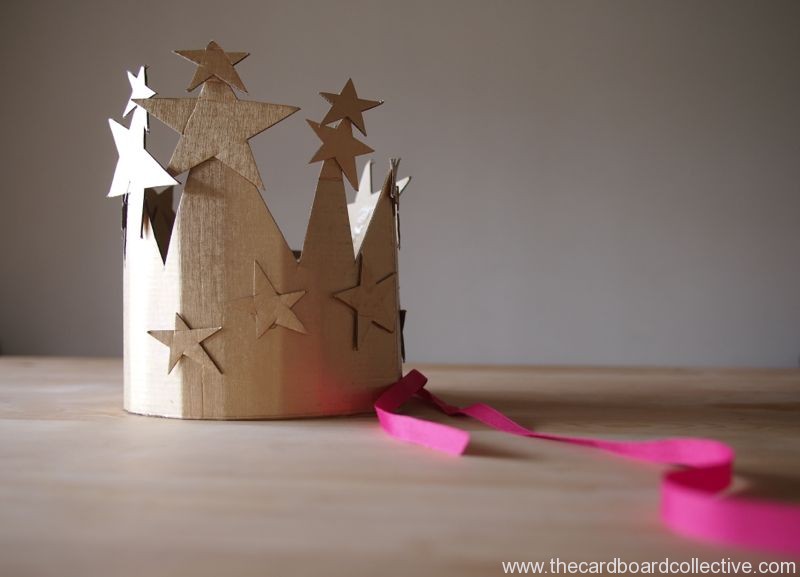
An easy beautiful birthday crown that my daughter put together on her big day. She wants to wear it again next year, and I agree it turned out beautifully. There is definitely a Glinda, Good Witch of the North quality there.
If you can't find gold cardboard, try jarred gold paint and pizza box lids........
A Cardboard Glue Comb & Sneak Peak
I'm in the final stages of pattern testing my first cardboard furniture pattern! While my husband sweetly refers to this step as the first pancake, I feel like I have flipped so many many pancakes already!
Last week I was on a mad search to find a glue comb (oddly a tool that is uncommon in the U.S.) to put in (yay!) my new Amazon Affiliates shop. A putty knife was the closest stand-in I could recommend. Then my brilliant pattern-testing mother told me about the piece of cardboard she cut from the handle of a box to make into a glue spreader.
Wonderful, I thought, one less product; one less thing to buy. But I was surprised at how well this solution really worked when I modified it slightly by removing a strip of paper to expose the corrugations. Identical glue stripe-ing!
If you make a second glue comb you can use the two combs to clean each other before the glue dries, otherwise just trim off the end and then cut another strip to make more corrugations.
OK, I'm in the home stretch now, hopefully I'll have the pattern up any day now (whew!), and here's a little sneak peak for all of you who follow the blog:


