Make
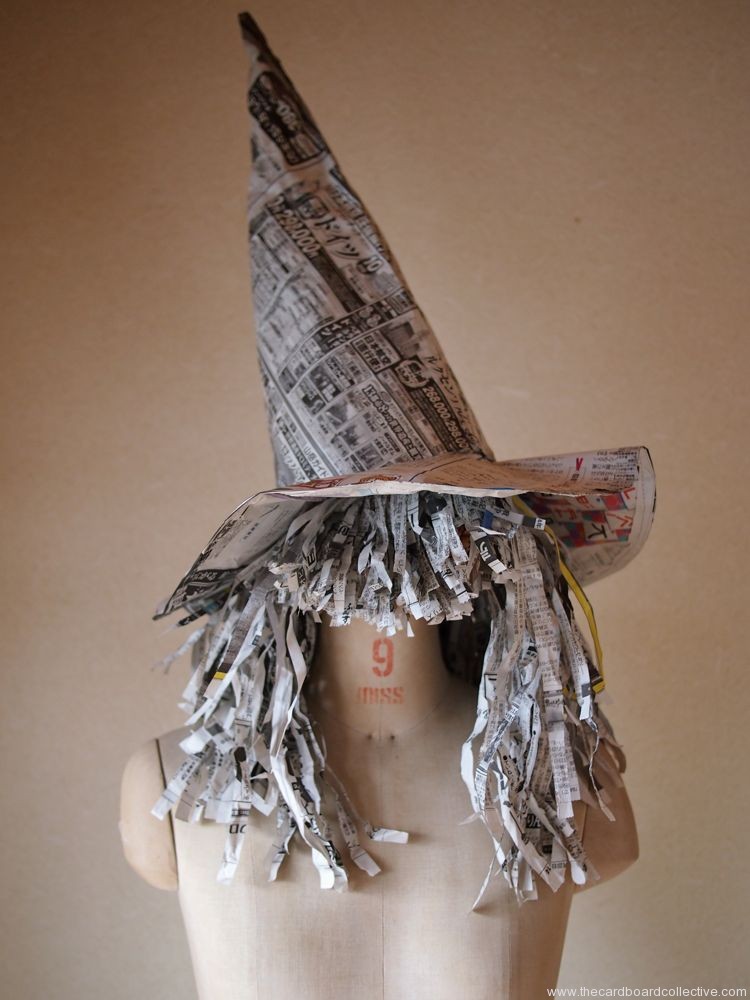
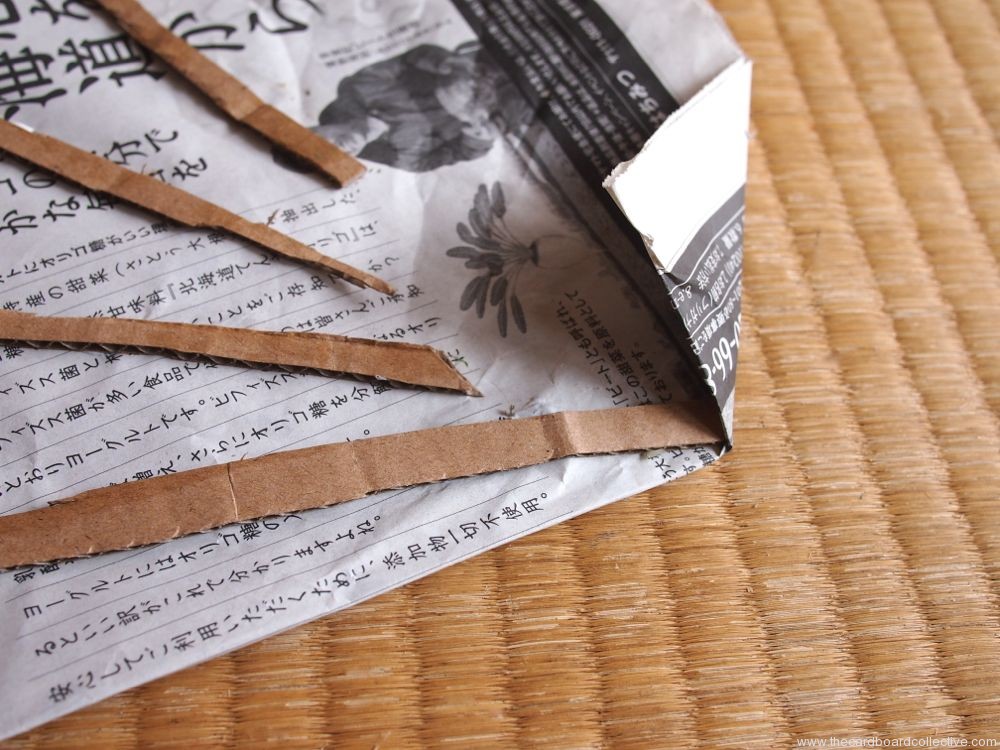
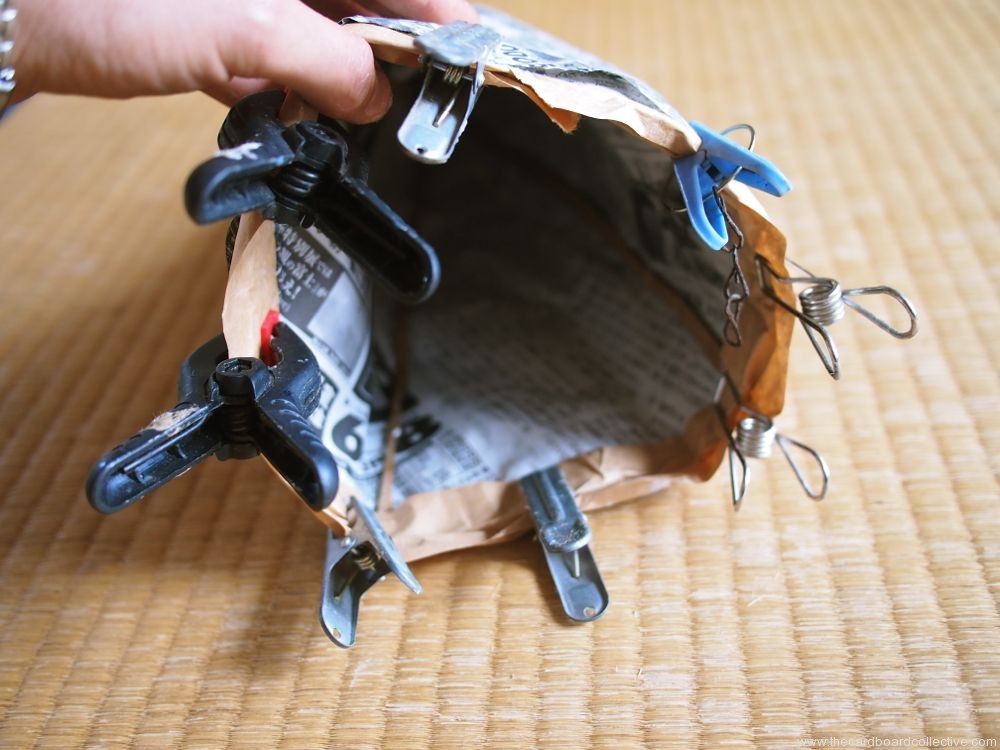
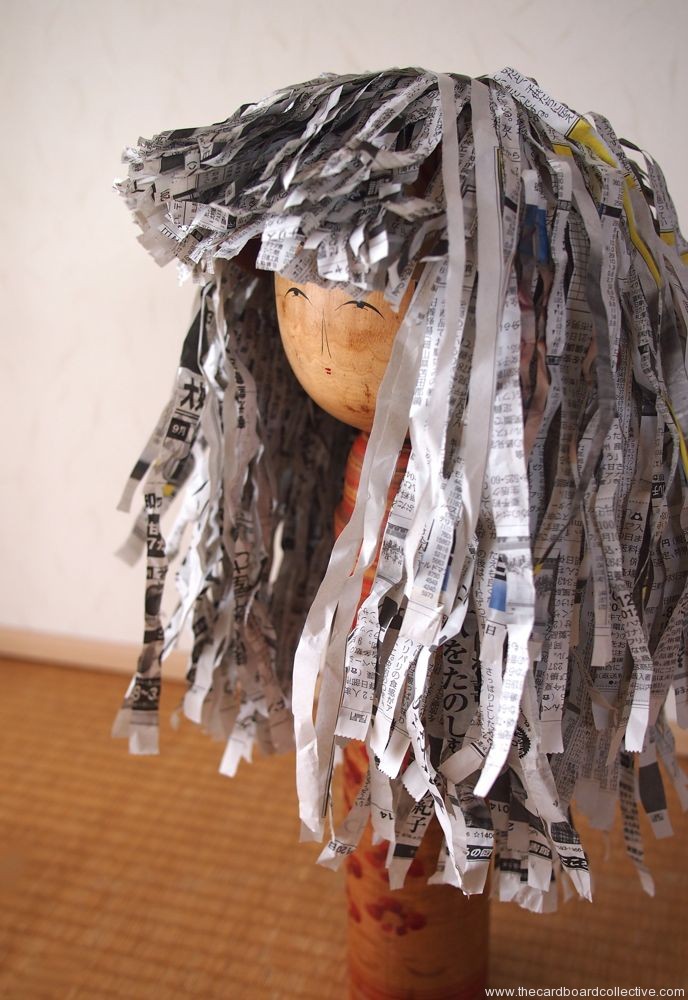
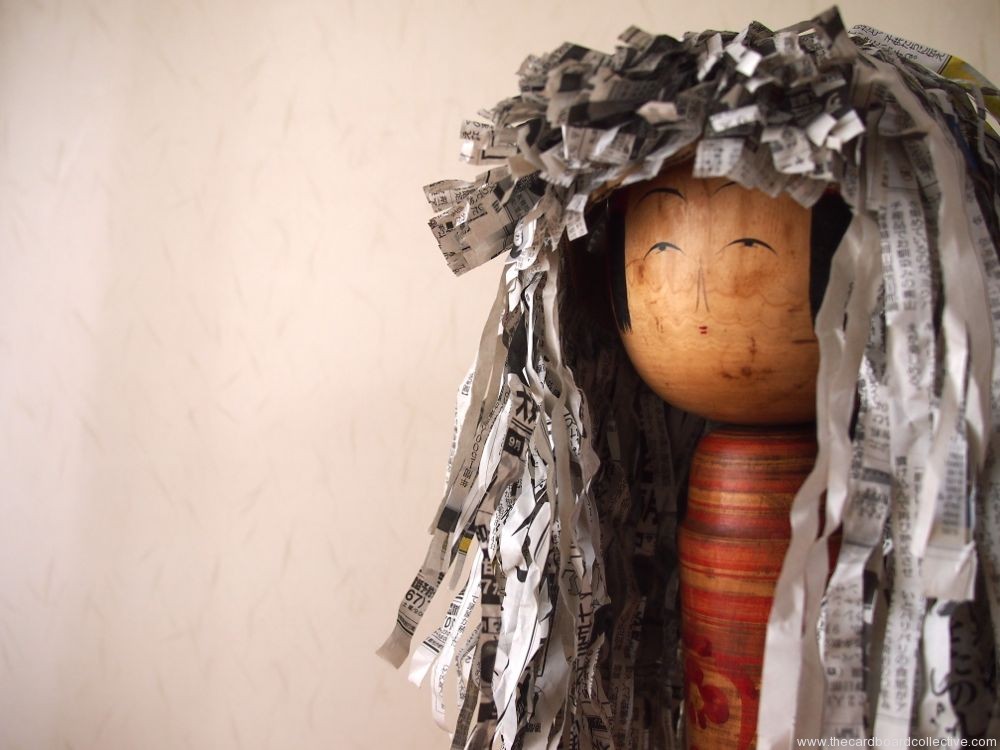
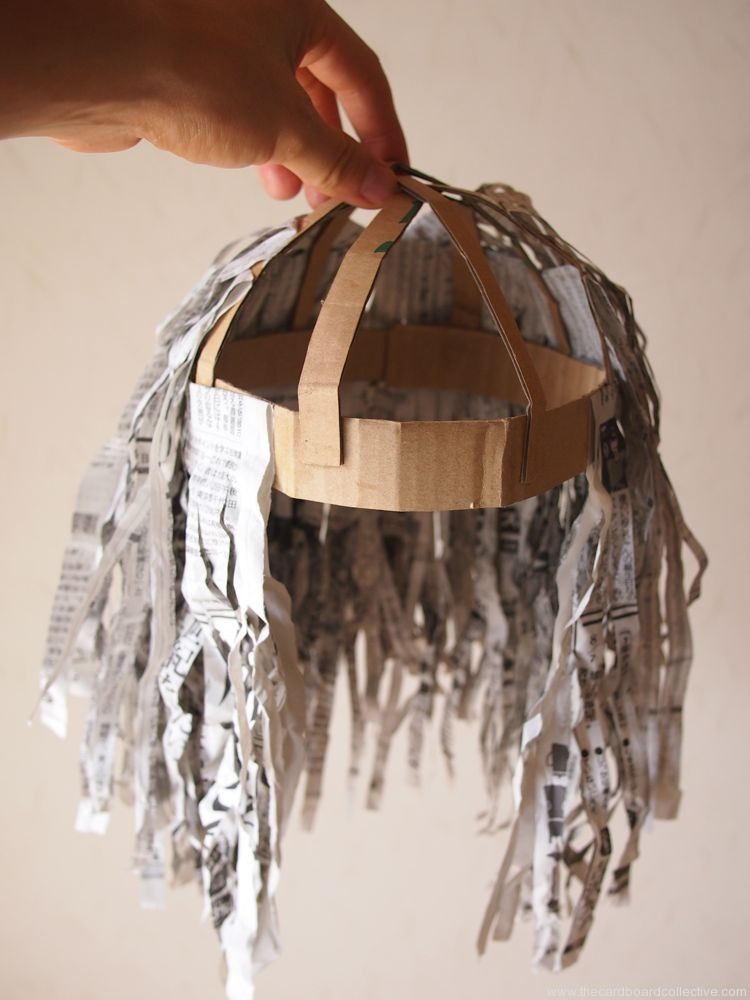
Newspaper Wigs
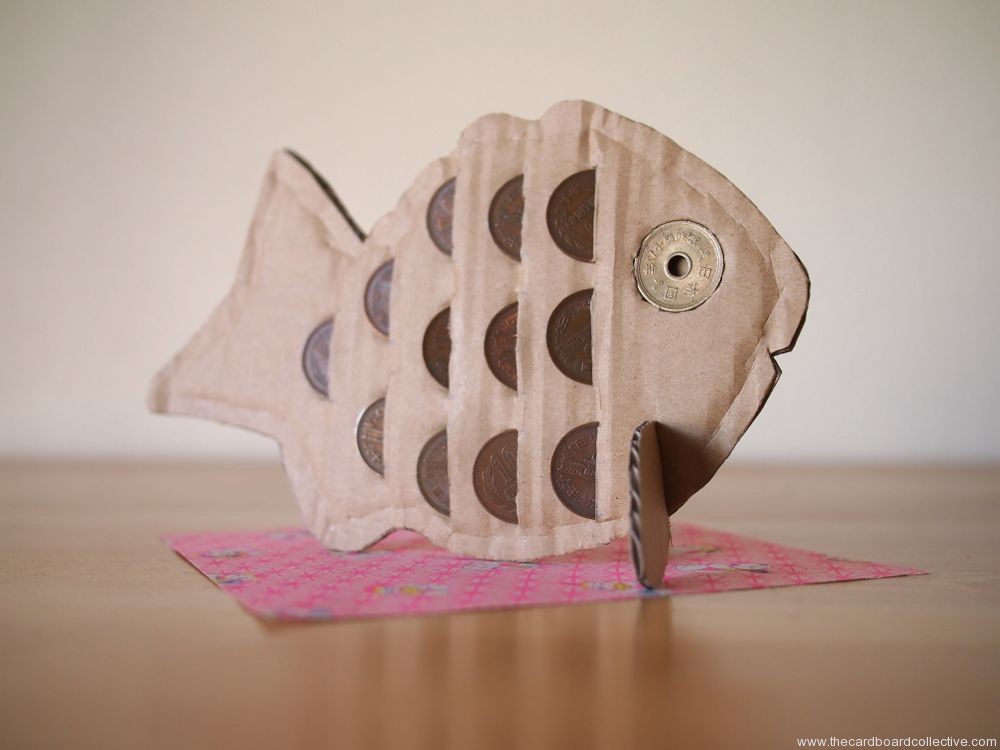
Cardboard Coin Bank
Steam-y, sweet taiyaki, is a well-loved treat here in Japan. It's a food that gives everybody a warm, happy thought just dreaming about it. If you've never tried it, or even heard of it, I would describe it as something like a stuffed waffle. Typical fillings are cream, custard or sweet bean, but I've also seen an ice cream version.
You can use this bank to collect the coins you need to buy taiyaki with 10 and five yen coins, but even if you never do try taiyaki, I hope you use the idea to make a new kind of bank of your own. Think of the possibilities!
This is also the last project for my collaboration with Eco + waza for their Tomorrow Box subscription. It has been an exciting challenge to come up with projects that can be made from product packaging, and I hope to do more of this type of work in the future!
To make taiyaki you will need the template, scissors, utility knife, glue, clips and cardboard.
Simple steps:
1. Use the template to trace and cut two fish and one set of fins from the cardboard.
2. Use a utility knife to cut the slits and hole for the eye on one of the fish.
3. Glue the two halves of the fish together, using clips to secure until dry.
4. Attach fin and insert coins.
Our favorite place to get taiyaki in Tokyo is at Takane's in Mitaka (after we dig seashells, by the seashore, Whew!) They've been making taiyaki and traditional Japanese sweets since the 50's, and they are really really delicious!
Cardboard Bear Desk Organizer
I've been playing around with making templates and shapes from things you find in the kitchen, so here's a funny little animal that was born out of that process, and was inspired by some similar wood and ceramic pieces I've seen on the internet as of late.
You'll need a cardboard tube, corrugated cardboard, scissors, white glue, a drinking glass and a spoon.
Simple Steps:
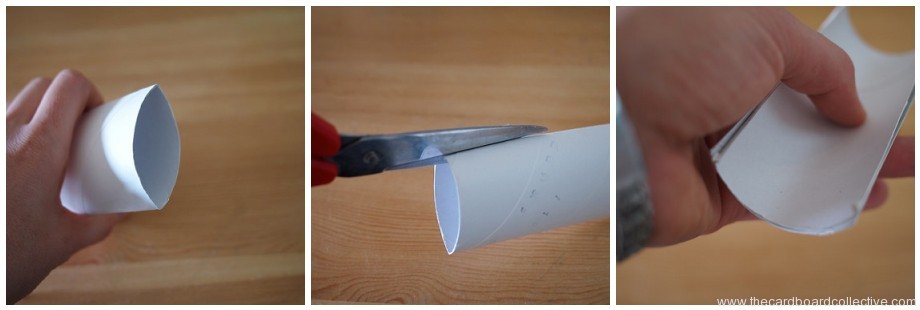
1. Flatten the toilet paper tube and cut along both creases to cut the tube in half. 2. Layer the two halves of the tube together to make the cradle for the organizer.
3. Use the mouth of the drinking glass as a form to trace the curves for the front and back of the bear's hips and shoulders. Cut.
4. Trim the tube to the desired length and assemble the organizer by gluing the tube to the hip and shoulder pieces. Secure with a rubber band while drying.
5. Use the base of the drinking glass as a form to trace the bear face, add ears, cut. Glue face to the front of the organizer.
6. To make the nose, trace the curve of a teaspoon, cut in half and glue to the cardboard face.
Spoon, glass, plate, spatula...... hmmm. What else can we make?
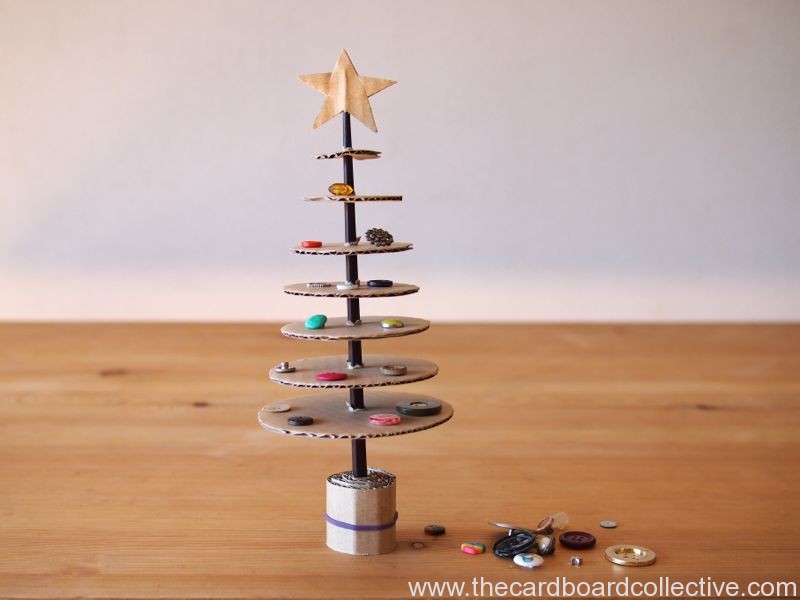
Cardboard & Button Christmas Tree
I made this little table top Christmas tree for the girls. They are really into stringing beads and buttons these days. They love the act of decorating (and redecorating) a tiny tree.
This is also the perfect little something to send to someone who doesn't decorate much for the holidays ...... you can stuff it in an envelope.
We collected some of our orphan buttons from the ground around train stations and parks we frequent here in Tokyo and some are from our old clothes.
To make the tree:
You will need a chopstick, scissors, cardboard and a rubber band.
Trace around the mouth of a drinking glass and add 1cm to the diameter to make the largest section of the tree. Cut it out.
Continue tracing and cutting out the circles, making each one about 1cm smaller than the last. I ended up with 7 layers.
Poke a hole with the chopstick through each circle and thread it onto the tree, starting with the largest. Be careful not to push the circles down too far.
Draw and cut out a star by lining up the corrugations so that you can thread it onto the top of the chopstick.
Cut a long strip of cardboard (about 2-3cm wide) and roll it up with a rubber band to make the base.
Decorate with your favorite orphan buttons or disassemble and send to a friend.
Butterfly & Moth: Sneak Peak
We've started to add elements to the cardboard hat pieces we made yesterday. Eyes are made from watercolor painted paper liners for shipping apples and citrus and the green fringe on the front of the moth mask is made from egg cartons...
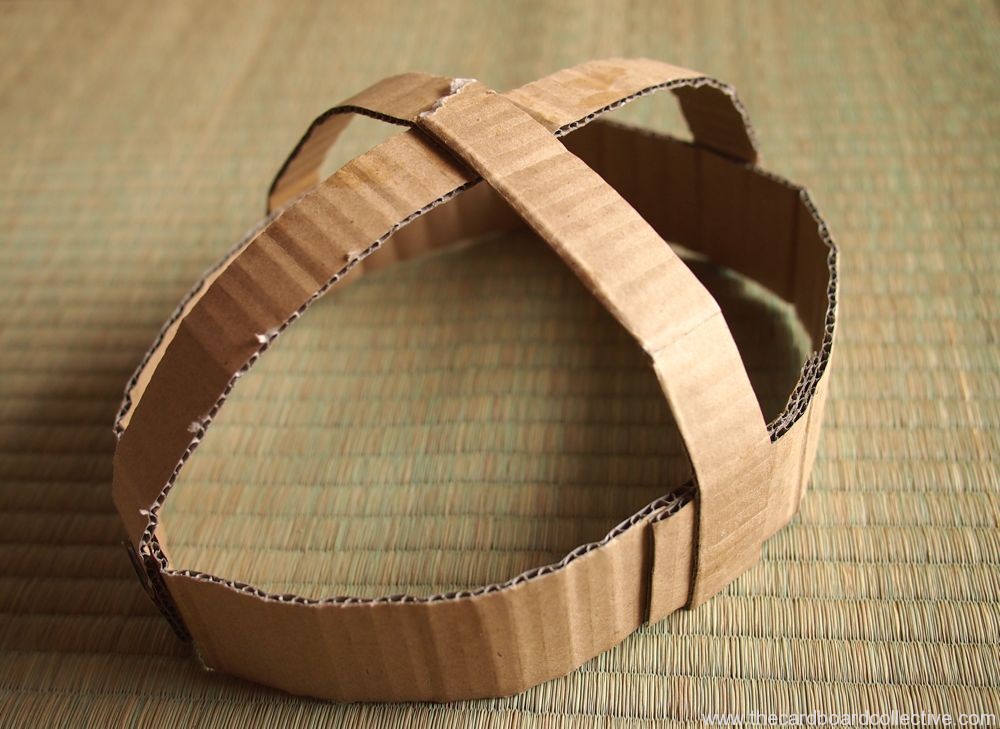
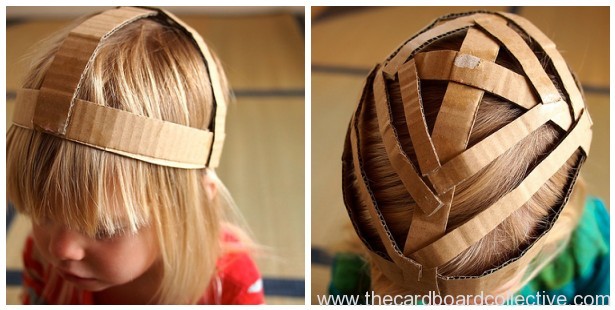
How to Start a Cardboard Head, Hat or Helmet
These are the beginnings of the head pieces the girls will wear for their butterfly and moth costumes. We will be attaching antennas and textured cardboard to complete them.
Simple Steps:
Cut strips of cardboard about 1.5" wide and longer than you need to wrap around your head.
Measure cut and glue a strip of cardboard together so it fits around your head.
Attach 2 more cardboard strips so that they cross over the mid point of your head.
Add additional strips as desired.
Use this base for attaching ears, horns, antennas, or a mask.
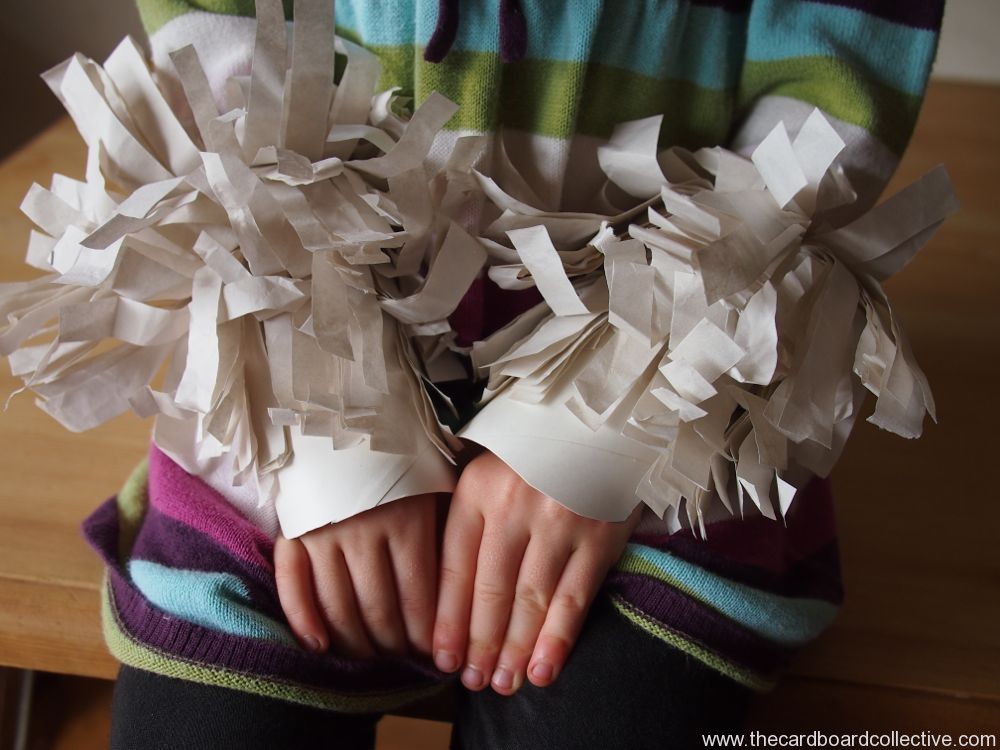
Cardboard & Newsprint Unicorn Costume
To make the costume you'll need:
white paper egg cartons
white newsprint or tissue paper (rainbow colors would be great!)
toilet paper tubes
metallic cardboard, (or rainbow paint your regular cardboard)
stapler
Simple Steps:
cut a rectangular strip of cardboard about 4 inches wide and 10 inches long
fringe newsprint, then fold the ends over the cardboard and staple
cut ears from egg cartons and attach with stapler
create cone shaped horn from metallic cardboard and staple down
cut toilet paper tubes so that they can fit over your wrists and ankles like a cuff
fringe more newsprint and staple to cuffs (place tape over staples to avoid irritation)
shape the ends of the toilet paper tubes to look like hooves.
DIY cardboard fasteners
The girls have been building a fishing shanty, so we implemented this method for joining cardboard. I demo-ed it at a cardboard play day last fall. Here's the lowdown:
PROS: rEAlly cute, fairly strong, reusable, made from reclaimed materials, virtually free
CONS: takes a fair amount of dexterity to thread buttons and twist, and sometimes hard to thread through the cardboard without a helper. Only suitable for non weight-bearing construction.
What you need: twist ties (the longer and thinner the better) buttons, a screw driver
What your kids will call you: AWESOME.
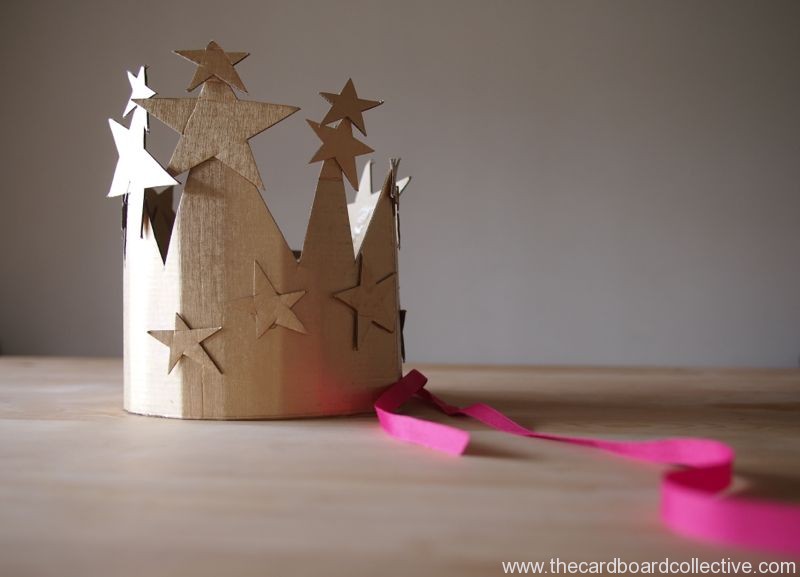
Starry Cardboard Birthday Crown
An easy beautiful birthday crown that my daughter put together on her big day. She wants to wear it again next year, and I agree it turned out beautifully. There is definitely a Glinda, Good Witch of the North quality there.
If you can't find gold cardboard, try jarred gold paint and pizza box lids........
A Cardboard Glue Comb & Sneak Peak
I'm in the final stages of pattern testing my first cardboard furniture pattern! While my husband sweetly refers to this step as the first pancake, I feel like I have flipped so many many pancakes already!
Last week I was on a mad search to find a glue comb (oddly a tool that is uncommon in the U.S.) to put in (yay!) my new Amazon Affiliates shop. A putty knife was the closest stand-in I could recommend. Then my brilliant pattern-testing mother told me about the piece of cardboard she cut from the handle of a box to make into a glue spreader.
Wonderful, I thought, one less product; one less thing to buy. But I was surprised at how well this solution really worked when I modified it slightly by removing a strip of paper to expose the corrugations. Identical glue stripe-ing!
If you make a second glue comb you can use the two combs to clean each other before the glue dries, otherwise just trim off the end and then cut another strip to make more corrugations.
OK, I'm in the home stretch now, hopefully I'll have the pattern up any day now (whew!), and here's a little sneak peak for all of you who follow the blog:
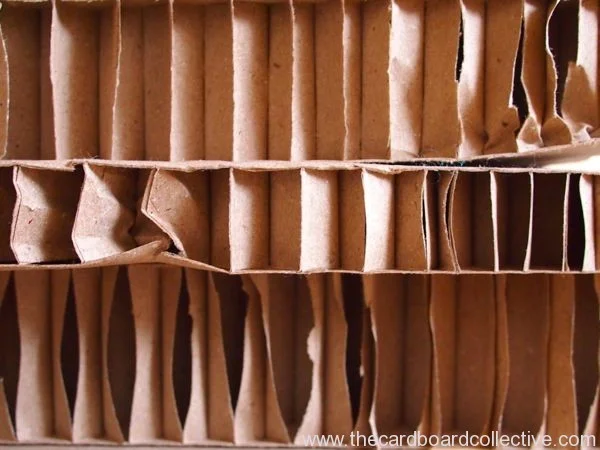
Honey Comb Cardboard
A beautiful new cardboard find this week: Honey comb. I only have a few pieces dug out of a fruit vendors recycling pile.
We've come up with one way to use it so far...in our toolboxes.
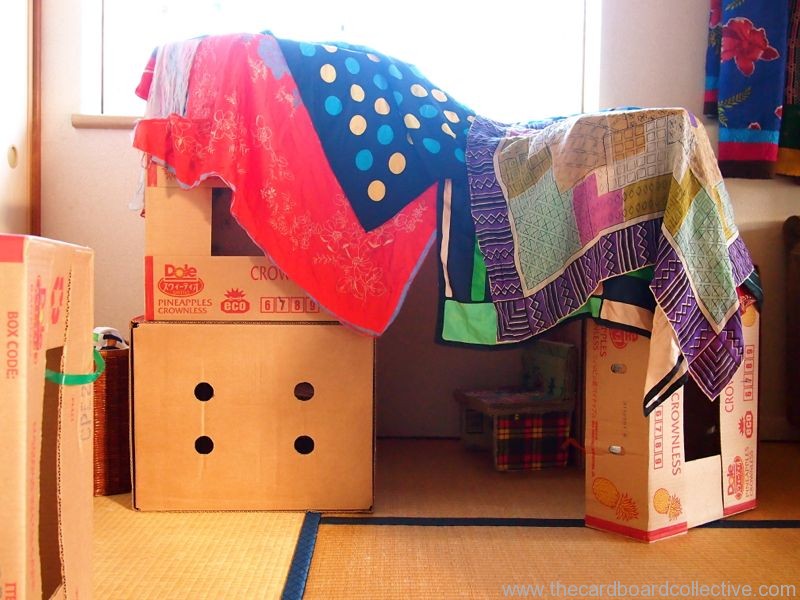
Fort Building with Banana Boxes
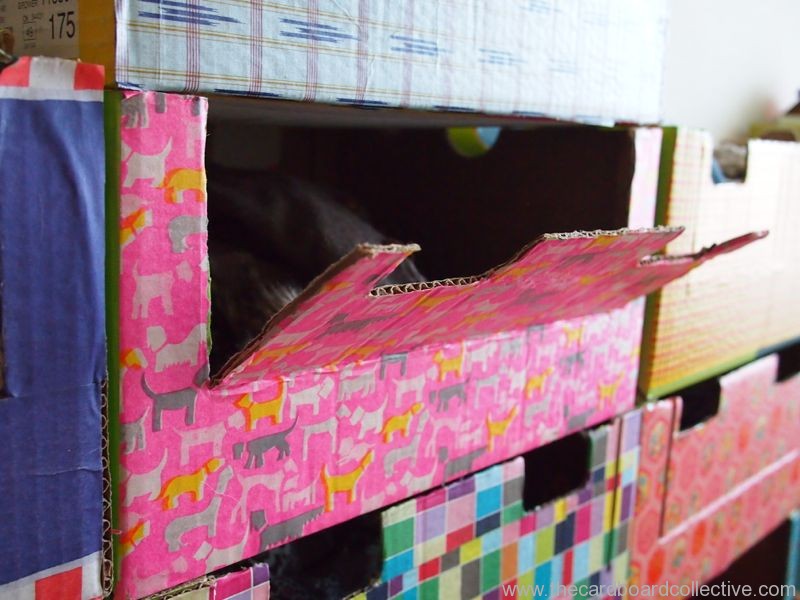
Stackable Cardboard Dressers for Kids
My daughters are young and their needs are always changing. They wear a pair of shoes for 6 months then need a new pair.
They use a little chair, or a booster seat for a year or a month or 2 and then we have to replace it and either throw out the old one, find a friend who happens to need the same thing at the same moment we want to get rid of it, or put it on Craig's List. (We have no charity shops here in Tokyo and limited recycling opportunities for large items.)
I find this kind of turnover exhausting. I wanted to create a dresser system for the girls that accomplished 3 things:
Recyclable so that we could recycle the whole thing, or just parts of it as the girls' needs changed. I didn't want the guilt of throwing away something that was perfectly good and I didn't want the extra work of finding someone to take on our old stuff.
Facilitates Independence. I wanted a piece of furniture that was easy to use and functional so the girls could easily pick out their own clothes and put them away starting from an early age (about 18 months-2 years ).
Beautiful. I believe that the things in our life should be beautiful and functional. I want my daughters to value beauty, design, the arts, and momma moxie, so we tried to accomplish all of those things when we made the dressers. If you like hot pink and pattern as much as I do I hope you agree on our definition of beautiful....
To make the dressers, we collected kiwi boxes over the course of a few weeks, as well as beautiful papers; a mix of washi papers, origami paper, paper bags and Gallery Opening flyers.
I then decoupaged the papers onto the fronts of the boxes with water and white glue. I made a door in each box by cutting two sides about a ruler's width from the edges of the box, and and then scored the bottom to create the door opening.
The doors of the dressers always stay shut and close easily. In a year and a half of using these boxes, the doors have never flopped open or gotten flimsy.
The girls can easily open and close the drawers. By decorating each box differently they quickly have memorized what kind of clothing each box holds. (Only Dad is still struggling with this.)
Another benefit of these dressers is that they are not a hazard if they fall over in the event of an earthquake - an important consideration living here in Japan.
If you're wondering where you can get kiwi boxes, check out your local produce department. This past summer I wrote a post about how to find free cardboard here. We also use these boxes for storing our toys, puzzles, and art supplies. Yes, kiwi boxes are a definite favorite here in our apartment.
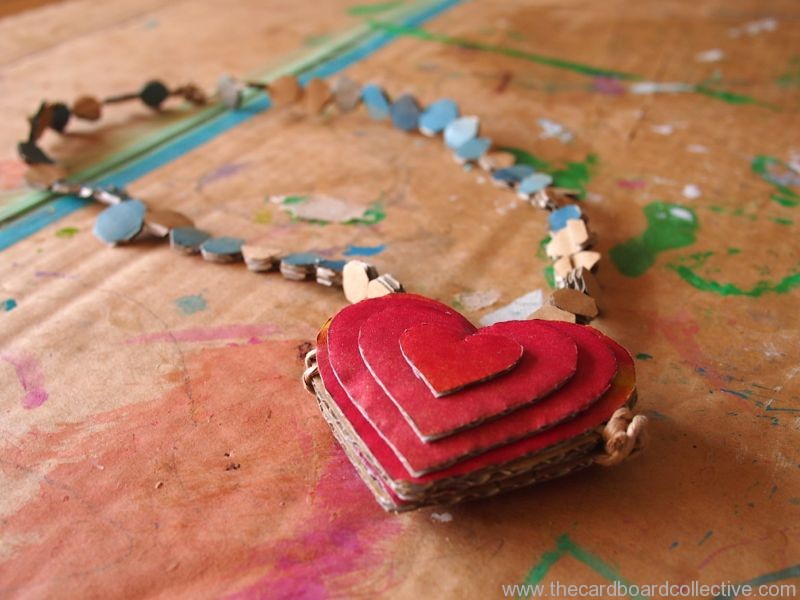
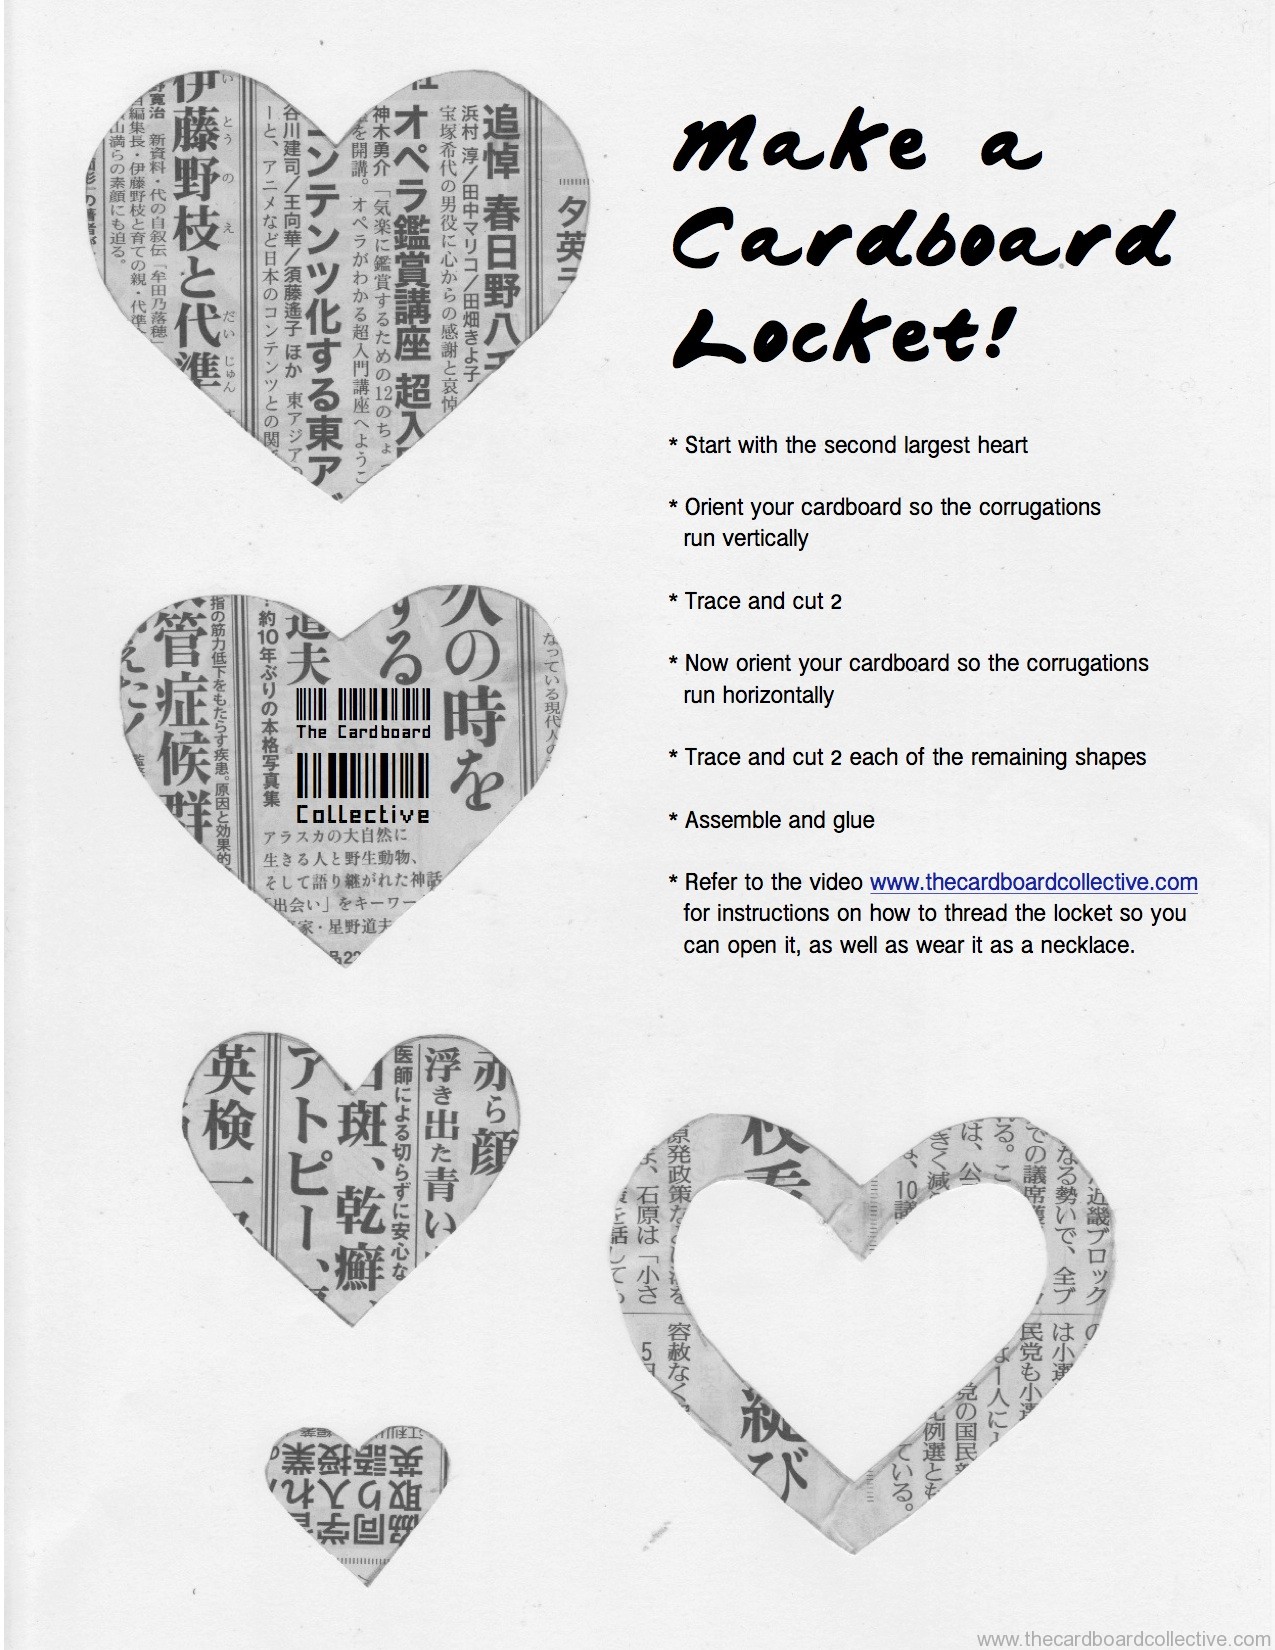
Cardboard Heart Locket
When my daughter was about 18 months old, we went on a trip to an island off of Tokyo's coast called Shikinejima. It was the off season, most restaurants were closed and we were sleeping in a tent.
We ended up doing a lot of shopping at convenience stores, eating meals of: apples, Oreos, cans of hot cocoa, and cans of tuna fish, and were even gifted a fresh bag of assorted seafood from a local fisherman, which we hesitantly attempted to cook over a fire... Maybe you've had a similarly strange almost-camping experience?
One of the shop keepers, a little old man who was so enamored with our daughter and her blond hair, kindly gave her a red plastic 3D heart pendant which had a light inside that would blink on and off.
It was one of those toys with sticking power, and became well-worn and well-loved over the next year and a half- that is until the battery died.
When I saw this cardboard heart ornament on Pinterest by A Little Learning for 2, it gave me the idea for making a low tech replacement for the blinking heart pendant.
My daughter approved. She loves being able to open and close the locket. We're now working together to make something similar as a Valentine's Day present for the grandparents. Definitely not afraid to share the cardboard love....
Info on adding cardboard beads to your locket here.
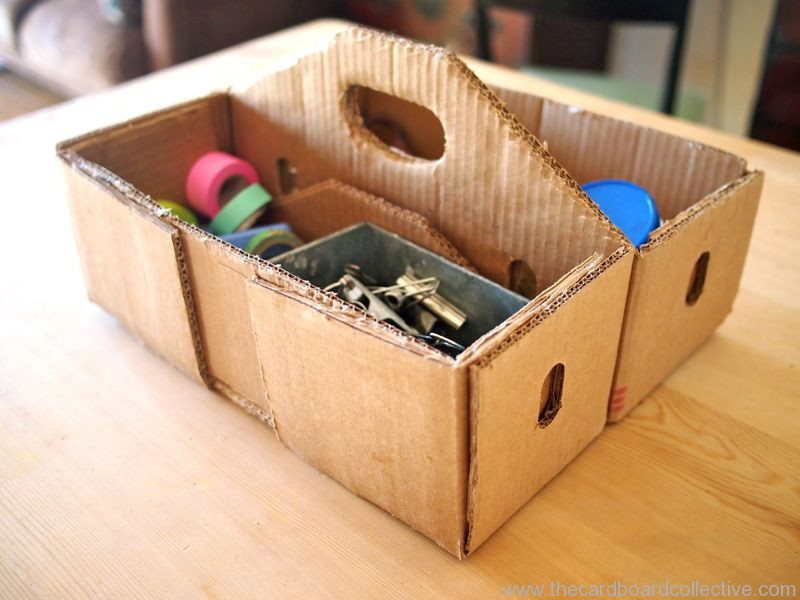
Make a Cardboard Toolbox
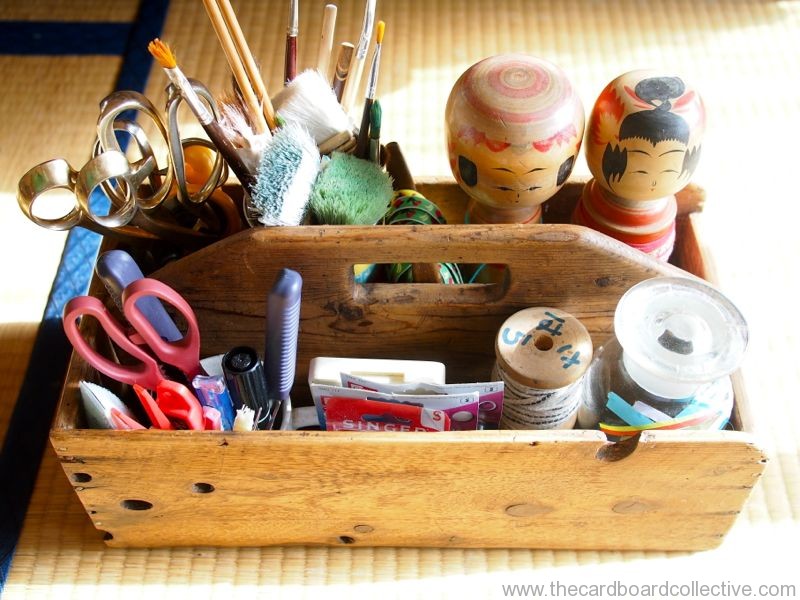
Two years ago I found a beautiful old wooden sheep shearing box at Camberwell Market during a trip to Australia with my family.
It was beautifully worn and even had tiny little strands of wool still caught in some of the corners. I quickly filled it up with my favorite sewing tools and supplies, and have enjoyed toting it around immensely ever since.
I have long thought about trying to replicate the design in cardboard for my cardboard tools. When I started working with banana boxes last year I realized I had found a possible solution.
I spent several weeks in late December and early January creating a variety of designs and assembly techniques that incorporated the pre-made features from the banana box like the pre-punched handholds.
I truly believe that this (essentially paper) toolbox could last a lifetime before being recycled. It's easy to build, strong, durable, and functional. Maybe someone will buy mine at a flea market some day. Wouldn't that be a dream! (Although maybe now that I've built about 10 extras, I might get on that sooner than later...)
The act of constructing a cardboard toolbox instantly transforms you from a passive Cardboard Aficionado into an energized Cardboard Maker- be prepared for this dynamic life change!
You'll need:
Approx. 30 minutes of your time
1 banana box
cutting tool
ruler
pencil
large binder clips or small clamps
white glue (I prefer low VOC eco glue
My Materials
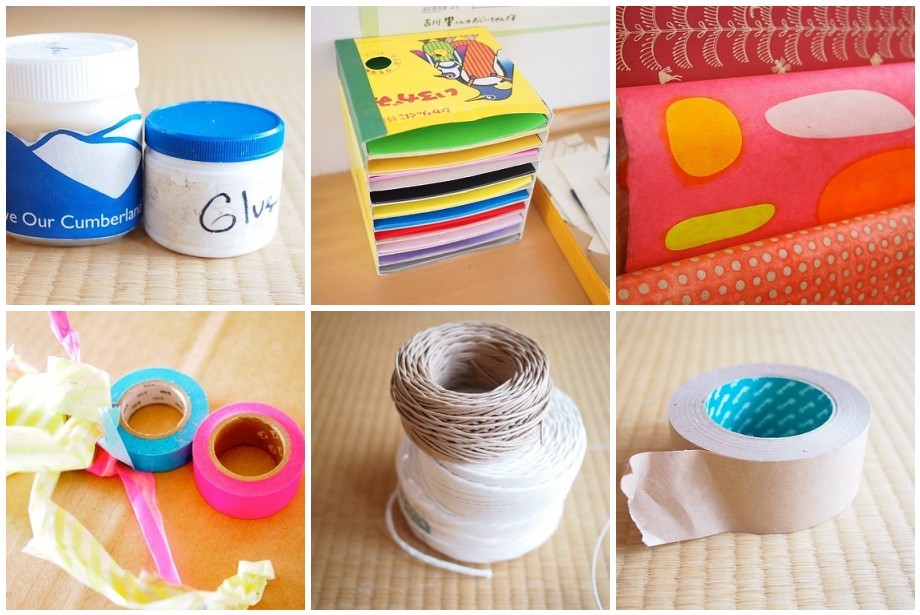
This is it! A sampler of the things that I use other than post-consumer cardboard, paper bags and tubes that I find on recycling day.
Glue: low VOC white glue for cardboard, and homemade wheat paste for decoupage.
Origami and chiyogami paper
Washi paper (This is a strong handmade Japanese paper that comes in large sheets)
Washi tape (watch out for inferior brands that don't stick!)
100% Recycled paper string and cord
Recycled paper tape
Turning straw into gold...
These are the materials that I love for their beauty (Washi paper rivals fabric in my opinion), their recycle-ability (I adhere to one rule: everything that I make must be recycle-able), their effectiveness (Time is precious so why use stuff that doesn't work?) and their endless possibility (Keep reading the blog for more on that).
Have any insights? Secret recipes? (I'd love to hear them!)
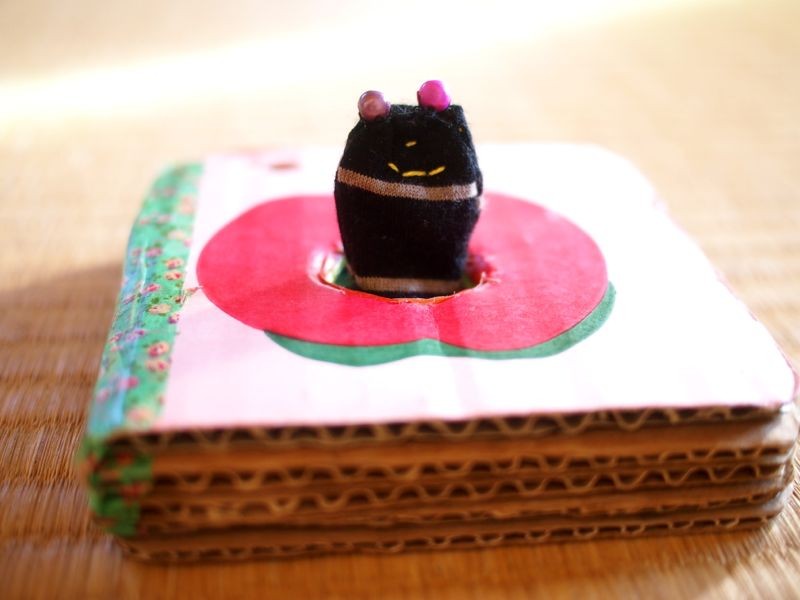
Cardboard Finger Puppet Book
This Christmas present was a team project. I got lots of guidance while I was sewing the facial features on "wiggle worm." My daughter also wrote the story for the book, which strangely enough changes every time you read it... you can catch the "text" below.
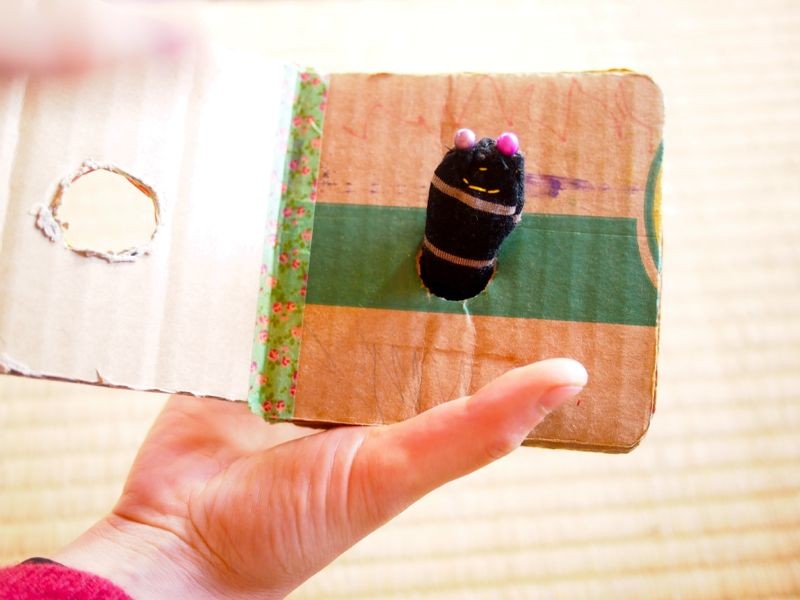
Stitch your wiggle worm together from a fabric scrap.
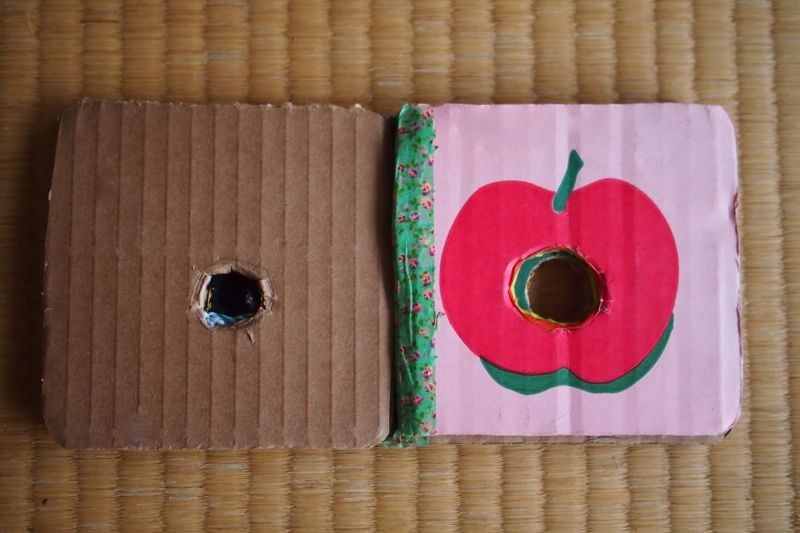
Cut holes in the middle of the pages of a cardboard book. Cardboard book how to here. Tape your worm in place.
Glue a cardboard page over top, to secure the "wiggle worm."
Looking a little smug after the photo shoot isn't he?
Cardboard Tinkering Toy Series: Cardboard Tube Gun
Part cross bow, part rubber band gun, part cardboard tube rocket, we affectionately refer to this device as the "snake shooter."
You'll need two strong cardboard tubes like the kind that aluminum foil comes on plus one more that fits over the two joined tubes, something like a poster tube might work.
Join the two narrower tubes with masking tape.
Add decorative tape.
Attach rubber band.
Cut notches on the sides of the larger tube segment.
Watch out tube heads!
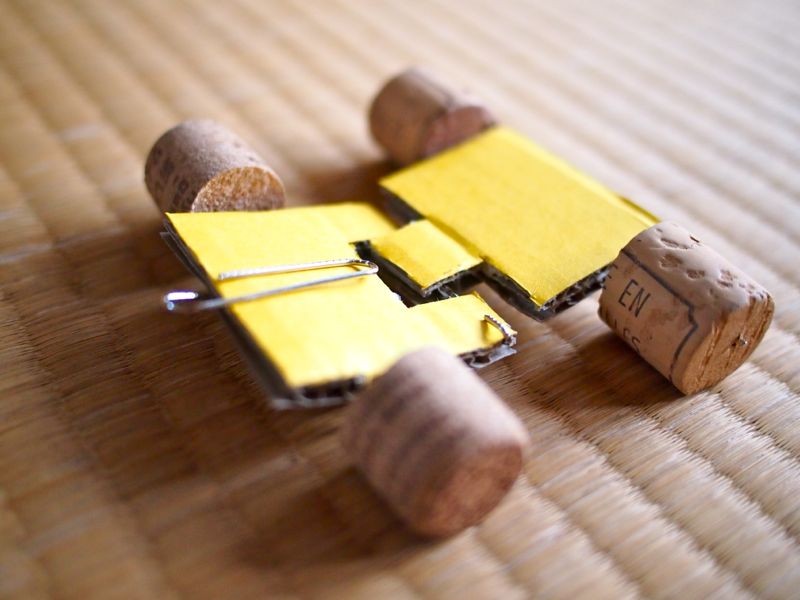
Cardboard Tinkering Toy: Cardboard and Cork Flip Car
This car is SO much fun!
It really makes my girls giggle because it seems like it has its own personality. We've had a great time tinkering with ramps, and there was also a failed zig-zag chute, but the girls also love attaching a string and chasing after each.
This project is pretty intuitive once you gather all the tools and materials together. A few pointers:
* Use large paperclips that have fewer kinks to straighten out.
* Try to cut your corks as evenly as possible.
* You can make the car without the hinge in the middle, but if you do make the hinge, be sure to leave a gap between the hinging parts.
I hope you try this one out, it truly is a toy for all ages!

