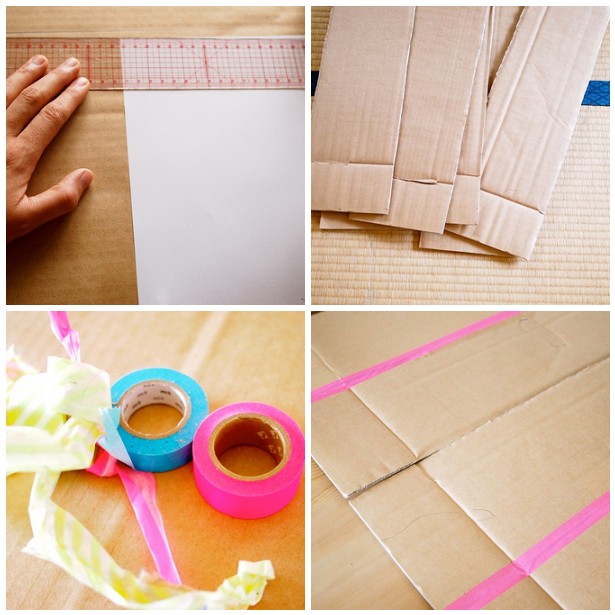
Boxes

Will You Join Me? A Global Cardboard Challenge

Have you heard the news? The Imagination Foundation, (the people behind the short film, Caine's Arcade) are hosting a global day of cardboard play!

While I'm busy organizing an event here in Tokyo and getting ready to unleash our first cardboard challenge here on The Cardboard Collective, I wanted to get the word out to all of you so that you can get the ball rolling in your neck of the woods.

The Imagination Foundation has put together organizing kits with resources and ideas for hosting an event in your community.

We would love to publicize your event here on The Cardboard Collective as well, so this is an invitation to all of you cardboard creatives out there....Will you join me?

Our Cardboard Swiss Cheese Chalet

A new watermelon box creation!  A hideout for my two little pipsqueaks.

This little place was a lot of fun to build, and I love the idea of a hideout that's triangular in shape.  I spent about 2 days working on this project off and on, because I had to take breaks when my arm got tired of sawing through all that cardboard.

The watermelon box I started with already had lots of holes in it, so I enlarged some of them to create my  "Swiss cheese matrix" on all three sides.

I started by figuring out the rough dimensions of the little fort by folding the box in different places until I found what worked best for a roomy wedge of cheese.

This box had about eight creased corners, so I cut cardboard strips about 6 inches wide and glued them over the unwanted creased portions so the cardboard wouldn't bend in the places I didn't want it to.

After securing the cardboard and cutting out all the holes from the sides, I put a nut and bolt with a washer in the side to keep everything together and make it easy to disassemble.

Last step was creating a top piece out of lighter cardboard so that the girls could open it easily.

I added a coat of yellow paint, but I think it would be just as nice plain brown.  I also thought  pink washi tape would liven up the holes, but you can see where that's all going to end up.

I'm looking forward to the day when they'll be building their own little cardboard nests... And hey, did I tell you where some of our other watermelon box scraps have ended up?

These came shipped in a cardboard box that we picked up at the local post office.

They're not ours to keep.  We're just babysitting for grandma...

Cardboard + Your Car = Sun Dried Banana Chips

Materials used: cardboard, parchment paper, masking tape and an egg slicer is great for getting the bananas the right width for drying, but you can use a knife just as easily.

It's taken a while, but my whole family is starting to get excited about cardboard.

I've got a few posts in the works inspired by mom, dad, and this post idea was sent by my sister who lives out in sunny Santa Fe, New Mexico USA. (see the little adobe house behind her truck?)

The bananas take about 4 hours to dry in her car in New Mexico. It could take a little longer in other places, but with the heat wave that's been sweeping the US,  maybe not?

Is this not perfection? The BEST summer snack!

My sister said that she's thinking about doing kiwi and apricot next, maybe even some  cantaloupe. But she said the best part is that it leaves a nice dried banana smell in your car.

Thanks Sis! This is fantastic!

Stackable Cardboard Puzzle Trays

Getting our toys organized to the point that they can easily be used and put away has been a huge focus in our home this past month.

Electra is a complete puzzle nut, so I thought getting our puzzles straightened up would be a good place to start.

These are just kiwi boxes, super sturdy ones, that I rescued from the grocery store. I cut out the front portion of the box with a utility knife.

The boxes have notches at the top that interlock with the box above. This feature makes the boxes great for stacking since they always stay in place.

In the first version I tried, I removed the entire front of the box, which I wouldn't advise. It's important to leave at least an inch or so on all three sides to maintain the rigidity of the cardboard.

We thought about decorating the boxes in some way, but I in the end I fell in love with the punchy red and yellow (and the little diagonal break.)  Bold, graphic colors are such a great contrast to all of the neutral shades we have in our apartment.

I'm a big proponent of Montessori philosophy. "Help me do it by myself," is a central Montessori theme, and this project is an example of one way that we integrate Montessori  philosophy into our day-to-day activities.

Electra always works on a mat to define the space, and chooses one puzzle at a time. When she's done she has to put one puzzle away before she gets  another one out.

Sometimes I pull all of the trays out for her to choose from and sometimes just a few, it kind of depends on the mood of the day and what she's currently interested in.

I have to say, with this system, she really does clean up after herself. There's something about that whole order begets order thing.

Now if I can just get it to spread to the rest of my house a little faster.

More on Montessori:

Basics of Montessori Philosophy

Montessori: The Science Behind the Genius, by Angelina S. Lillard, PhD (If you don't have time to read this excellent book, listen to the NPR podcast while you're folding laundry!)

Urban Gardening with Cardboard Planters

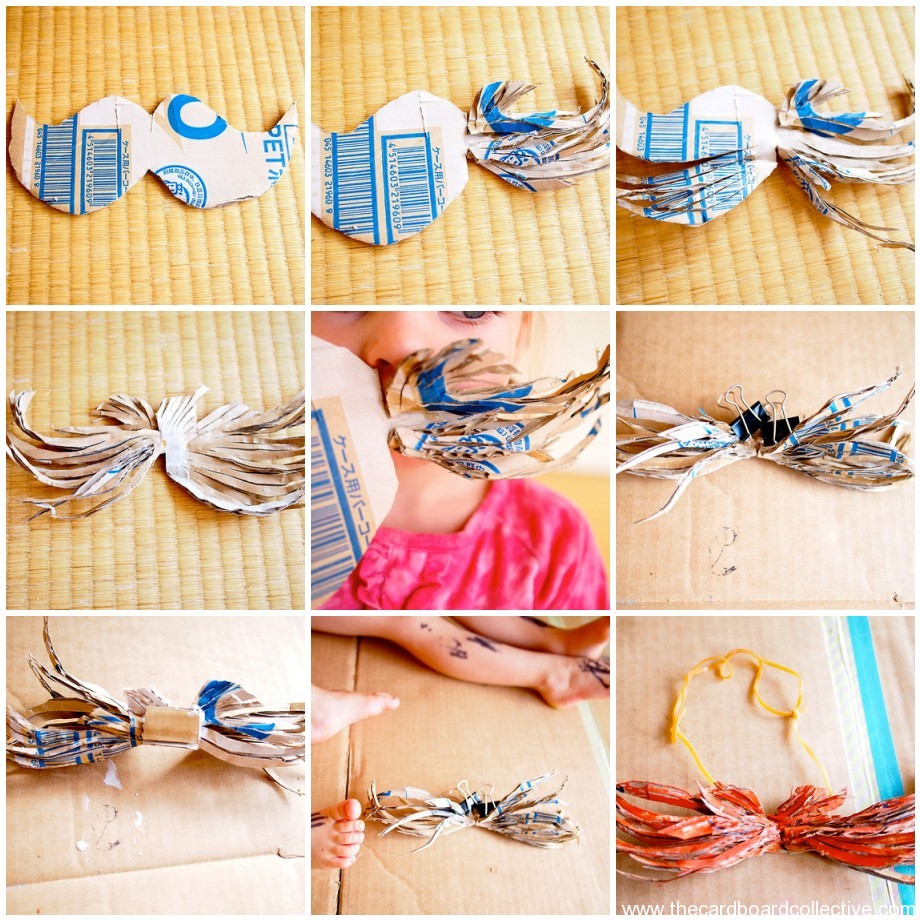
I made the cardboard planters by cutting a pineapple box to the desired size through both layers and then inverting the inner box. I also used a few strips of washi tape to brighten things up a bit and make the planter more secure.

I used the same concept to make the cardboard steps. I had to cut a second box to fit inside the top step for more support, but it does the job for Electra's small time guerrilla gardening project in our stair well.

I've learned after a few years of living in Japan that you can get away with anything that is super cute / Kawaii (rhymes with Hawaii).

......Like a little girl growing a morning-glory in cardboard pot.

Flip it over and it's a custom sized box or planter...

The planter on the right is what sparked the idea for making cardboard planters in the first place. They're called Wonderpots, and they're made from 100% recycled material. I've used them for the last 4 years and they work great. They last about two years before decomposing to the point that they need replacing.

My recent discovery of the waxy cardboard fruit boxes has got me thinking in a million directions. And the cardboard planter experiment will be the ultimate test of their strength.

I didn't even glue or tape this planter together. I just set it in the planter holder. The only thing I did was poke a few holes in the bottom of the planter to provide drainage.

So far we've got a young crop of edamame and edible-pod peas going strong. We'll see how our cardboard planter experiment holds up after a summer of growth and watering.

What about you, have you ever tried planting your annuals in cardboard?

The Wheels on the Box

Just add Wheels... During our last trip to 0123 Harappa the girls really enjoyed the cardboard box sleds that they had. I kept thinking about how we could make an adaptation using castor wheels and some hardware from the local DIY home store. The real discovery however proved to be the strength and durability of a certain breed of fruit and vegetable boxes.

Dad's old necktie makes a great and easy pull strap. Just thread it through the holes and tie a square knot.

By the way, we've been putting castor wheels on everything in our house.

Utilizing our cardboard hitch, Electra starts up her own tricycle transport for babies business. (Kitchen to tatami room connections offered daily.)

Besides the scary warning akin to those found underneath your mattress, I found out that this box is built to hold up to 55 kilos!! It also has a water-resistant and wipe-able waxy finish (mothers rejoice!) which I believe must help combat mold and mildew during transport of fruits and veggies.

Scour your local grocery store for one of these sturdy boxes. I'm sure your friends in the produce department would be happy to help you out!

I found the castor wheels for about $ 0.99 a piece and then looked for nuts and bolts to fit the castor wheels. The bolts are about 2 cm in length. Just enough to accommodate the castor wheels and the single walled box.

Using a leather punch, (but you could also use a small Phillips head screwdriver) I punched holes in the bottom of the box that corresponded with the holes on the bottom of the castor wheels.

I found out after a few days of play and finding lost nuts all over the place, that you should orient the bolts so that the nuts are attached on the inside of the box. (OK stop giggling!)

I cut an extra piece of cardboard to act as a liner and provide a little more strength and rigidity to the bottom of the box. It also provides some protection from the bolts sticking up when the girls are riding inside.

Of course don't forget to decorate the box to look like your favorite fire truck, school bus or train car. (We haven't gotten that far yet.)

A cardboard box with wheels is a wagon, a trailer, a wheelbarrow, a hangout spot, and all around super fun toddler toy.

Yay cardboard!

Cardboard Sakura Pavement Stencils

Cherry blossom petals are on the streets everywhere! Tokyo looks like it's been covered in fairy dust.

I was inspired by this post at Oh Happy Day about creating lawn "heart" stencils with flour.

We tried cherry blossom petals, cardboard and flower shapes, experimenting with both the stencil and the negative of the stencil. It was a beautiful day and Electra and Isis both absolutely loved collecting up the petals and scattering them onto the stencils. The best part was seeing the smiles on the obachans (grandmothers), who were out for a walk.

A great way to enjoy sakura, sunshine, and giggling little girls.

Cardboard Tinkering Toys and Mobiles

Intergalactic Cardboard Space Station? Cubist Crossroads? Alice in Cardboard Wonderland? Just a few possibilities for Cardboard Tinkering Toys.

After experimenting with some tightly rolled up magazine pages, our universe kept expanding. The fun part of tinkering with the cardboard and magazine pieces is that you keep adding pieces to your building set as you go. As you fiddle, you get new ideas for ways that you can connect the magazine paper rods to one another. Add to your building set every time you play. We were able to recycle some of our old cardboard beads and cardboard alphabeads, and I've been saving words and images cut from cardboard boxes as well.

I also loved the possibility for mobiles.......

Here's a closer peak at some of our components. To be able to attach cardboard rods in two different directions, I glued two cardboard circles together with the channels running perpendicular to one another. If you glue four circles together and poke a whole through the center of each one, you can get your magazine rods to attach in four different directions plus you can thread the component piece on another magazine page rod. Other great possibilities include splicing two pieces together to get x-shaped pieces that act as stands and stabilizers.

I love the "found" poetry aspect of using cardboard words in conjunction with the bold cardboard geometric shapes.... Now go play!

Cardboard Message Stamps II

This is a variation of Cardboard Message Stamps using paper twine instead of cardboard. The paper twine affords more bend-ability for working with cursive  or handwritten style fonts and yields a print that's a little more whimsical. I will warn you that this project is a little fiddly and takes patience to curve the twine, hold it in place until it dries and get all the short pieces of twine to meet up. At the time I was doing it, I thought, hmmm this is tough, but now that it's finished and the stamp came out so well, I would venture to say that I would try this project again.

I can't read the package to be 100% sure, but I believe that this paper twine is made from the paper milk cartons that we recycle here in Japan. It reminds me a lot of the paper handles on those safety suckers that they handed out at the local credit union (bank) to pacify us when we were kids. And you know what? It worked! If only safety suckers were an option for nearly 1 year olds.

The first stamping always comes out a little patchy. The second run, pictured at the top of the post, stamped easily.

So I know this project begs the question, why make a message stamp, when you can just buy one?

1. Personalization. Write a name, or message that you would not otherwise be able to find on a store bought rubber stamp.

2. Make it Big. Perhaps you want to say something in a Big way over and over again. Then it would be handy to have a cardboard stamp.

3. Limited Life Span. Perhaps someone in your family is turning 40 and you don't foresee using a "big 4-0" stamp all that often or holding onto it for eternity. You also don't see the point of buying a stamp at the store and then Goodwill-ing it, or throwing it away. That's when a 4-0 stamp would be brilliant if made out of cardboard. You can recycle the whole thing. I think that really is something to celebrate. And by the way I think it also makes you very cool and very smart.

Cardboard Message Stamps

Print out your message using word processing software.

Flip it over and glue it down.

Paste cardboard strips about 1 cm thick over the lettering. I clipped the cardboard in between the fluting on the inside of the "o" to help ease it into a circle.

Let dry overnight. Away from curious hands!

I painted the stamp with regular acrylic paint. It took a few tries to get the cardboard to absorb enough paint to stamp relatively evenly, so don't give up if it doesn't come out perfectly the first time.

I think I'll go ahead and make name stamps for Isis and Electra using a different font, and then maybe we'll make an oversize set of the whole alphabet? Or maybe just imagine ourselves having the time to do that. Ha.

Cardboard Tray with Handles

As you can see from the pictures above this tray was born out of necessity. Now that Isis is fully mobile and on a rocket course towards walking, nothing in our home is safe from the jaws and terrible Chiclet teeth of this four legged little beast.

If you find the right box with the handle holes at the right height this tray is a one step process. I had to do a little gluing and combine the parts from two different boxes, but all in all not too bad.

The big plan is for Electra to use this tray for doing craft projects with little baby hazard pieces that require a large work surface to spread the materials out. I think it will also be good for doing puzzles, and already I love the whisk - away - ability it gives me when rascal number 2 is on the warpath. Maybe a splendid cupcake carrier as well?

Cardboard and Plastic Netting Stationary Envelope

I I don't like to post projects that require tools that people don't have access too, but I thought that combination of materials might at least inspire those of you without a sewing machine to create something similar. The important thing about this envelope is that the netting lets you see what's inside- very important for both moms and toddlers alike!

This stationary envelope is made from a piece of cardboard and the netting that produce comes in. I first measured out a square of the netting and then traced a pattern, which included a flap on the top, onto the cardboard and cut it out.

I zigzag stitched the netting to the cardboard with a regular sewing machine (not industrial) and then I embellished the envelope with a few stripes of wash tape and a little picture of a dog that I cut from a magazine. This "kit" of materials will be a gift for a two year old friend of Electra's. I've included some homemade envelopes made from old maps, adhesive labels, two mini paper photo albums, some plain white greeting cards for decorating, blue adhesive dots and a few rolls of washi tape.

I like the way the netting expands and hugs the materials differently than a paper envelope. It will be fun to try making some more of these in different shapes and sizes to organize our own stationary supplies.

Cardboard's Strengths

Although this is probably not a project many of you are jumping to recreate, I did think you would find it interesting to see how strong a few little pieces of cardboard can be.

Electra has been wheeling around on her tricycle these days, and is keen on making her bike into more of a workhorse around the house. We have a wooden plant coaster that we have also been using as a kind of wheelie body board that makes a perfect trailer.  We just needed some kind of hitch so that Electra could easily take off the trailer when she was simply "cruising."

I measured and sketched, and then cut out this little device made of three pieces of cardboard glued together. It's surprisingly strong- it's able to pull a lot of weight (at least 10 kilos) without looking stressed. The trailer hooks up with some braided paper cord, which I used to illustrate the power of paper! I love continuing to be surprised by cardboard. It's free, recycled, and recyclable and offers so much possibility. I just find it so darn cool!  What do you do with your cardboard?

Cardboard Washi Tape Holder

Now that we are getting deep into the Christmas crafting and gift wrapping, we've been pulling the washi tape out everyday. I used to keep our tapes in a box in the drawer, but I thought it would be great to have them organized in a way that I could easily see all the colors, as well as take them out and put them back without disturbing the whole lot.

Just plain old white glue should do the trick. You might try a couple of clothespins to keep everything together while it's drying.

cardboard washi tape holder

You can use this template to create a washi tape holder that would fit in a drawer or sit on a shelf nicely. Of course you can decorate the whole darn thing with washi tape when you're done.

So do you remember life before washi tape? I don't.